Acorn Archimedes A3000 Repair + Mouse Conversion
Acorn Archimedes A3000 Repair + Mouse Conversion
You know what it’s like. Ya talking to a buddy, mentions he could do with a borrow of a machine… and you just know you have one somewhere.. And Shirley it’ll work, won’t it?
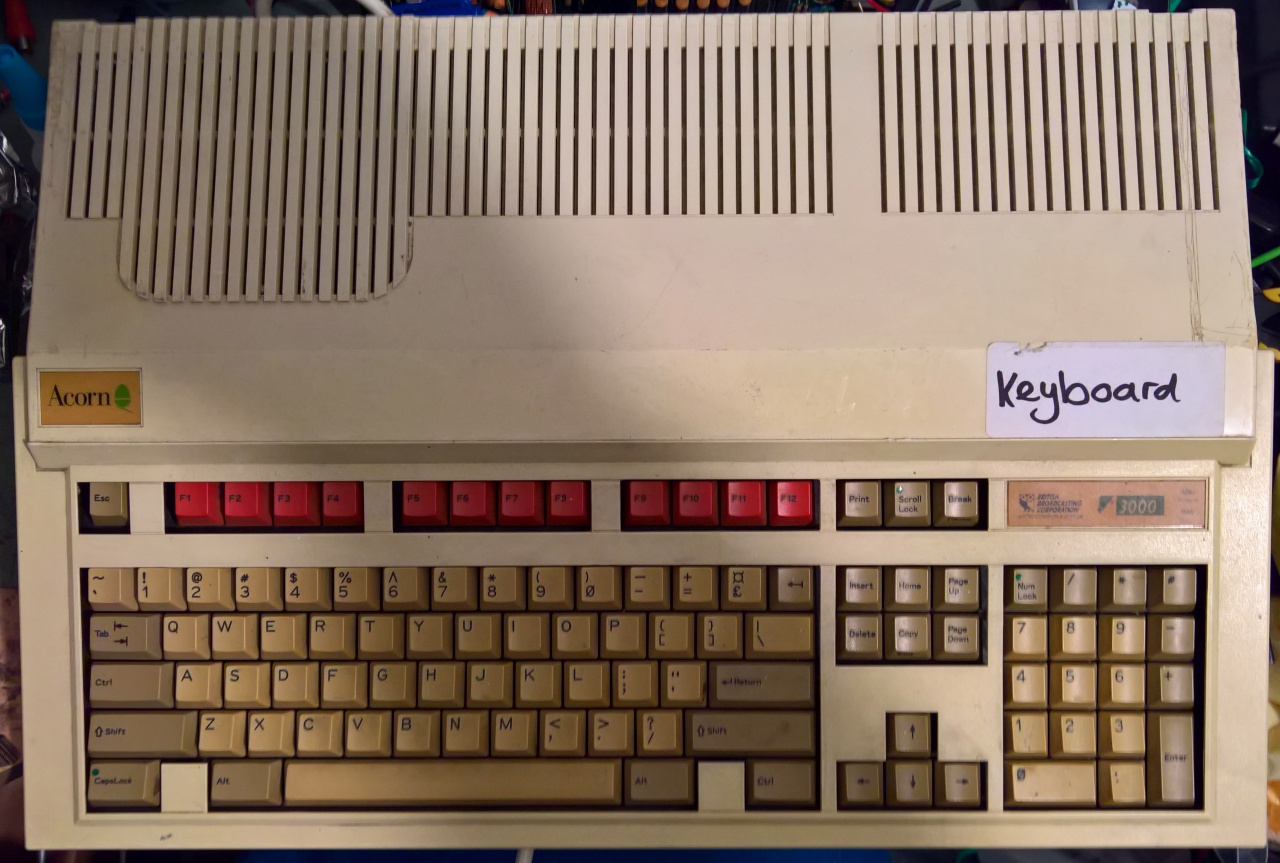
#FACT All computers in schools in the UK are routinely labelled incorrectly.. I didn’t bother powering this on, as I already knew what the insides of this machine might look like. It’s not a good idea to power on machines like this. Just as likely to fry something that might have made it if left unpowered until after it’s been repaired.
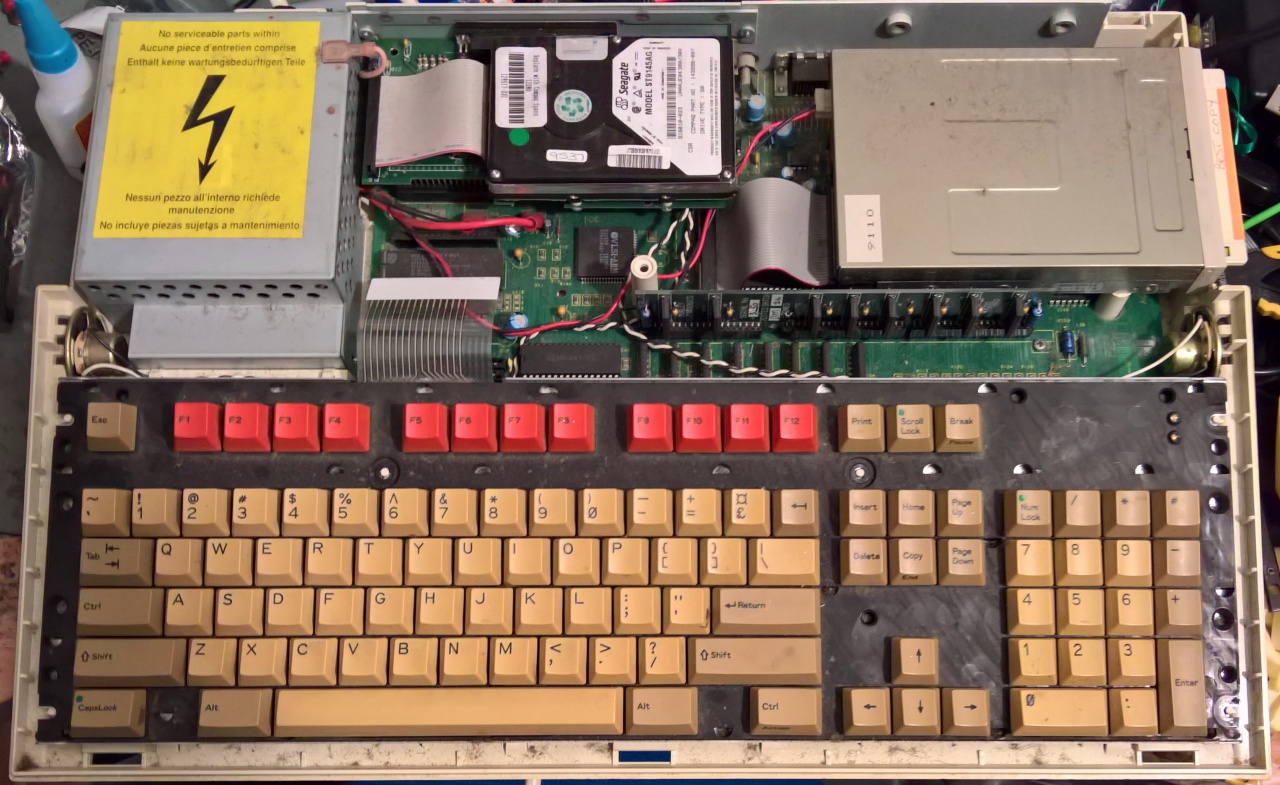
Archimedes should be treated like Amiga 500Plus’s .. You should expect the Ni-Cad battery to have dissolved and shouldn’t be surprised if the PCB is un recoverable. 🙁 And anyway, at least I get to marvel in the industrial design of the A3000 case. Just like the BBC A/B these things were built to be bashed around by grubby little British children. 3 Screws is all that’s needed to open this fella up.
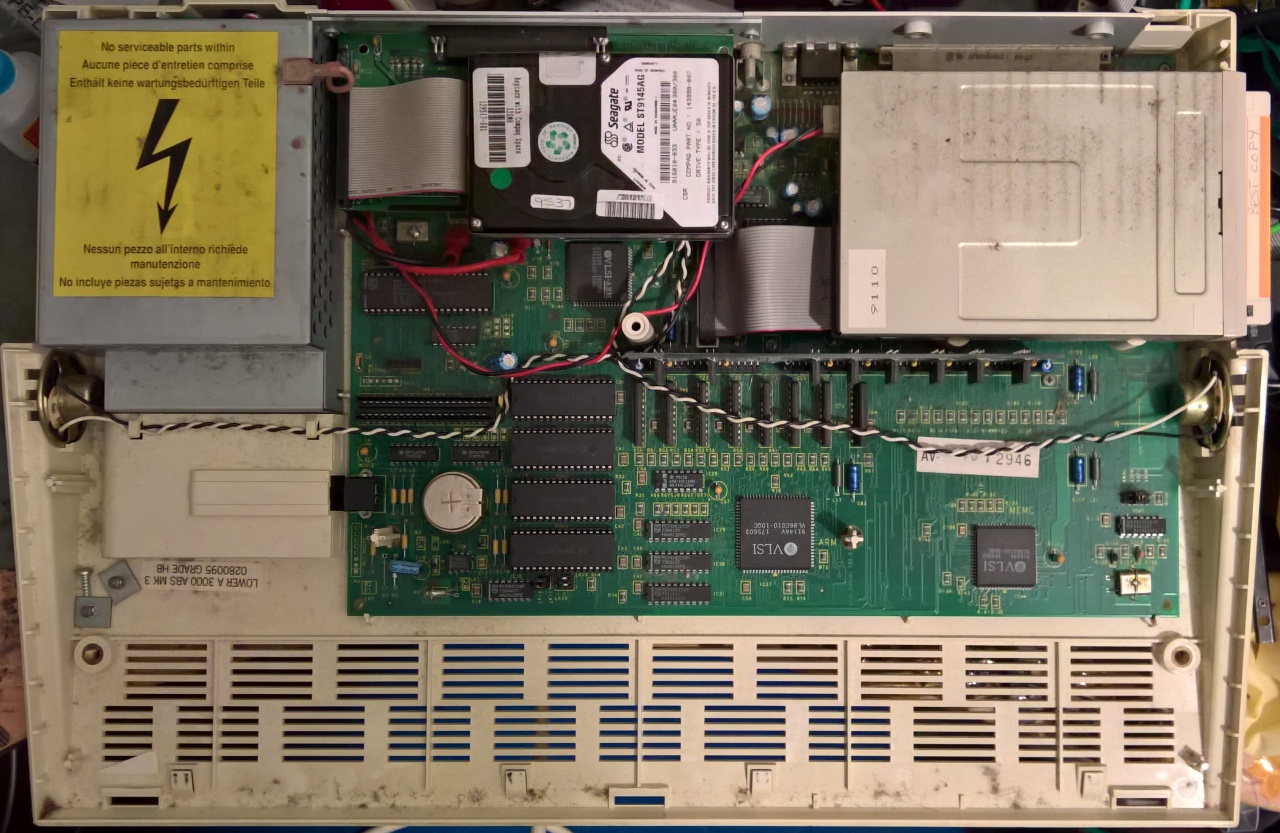
Oooh look am ARM II chip. Ah, remember when ARM was a British Company. Ah, well at least up till the EU referendum and the sudden Sterling crash. Now owned by the Japanese I believe. Back on topic.. Looks like someone has borrowed a Compaq 2.5″ Hard Drive
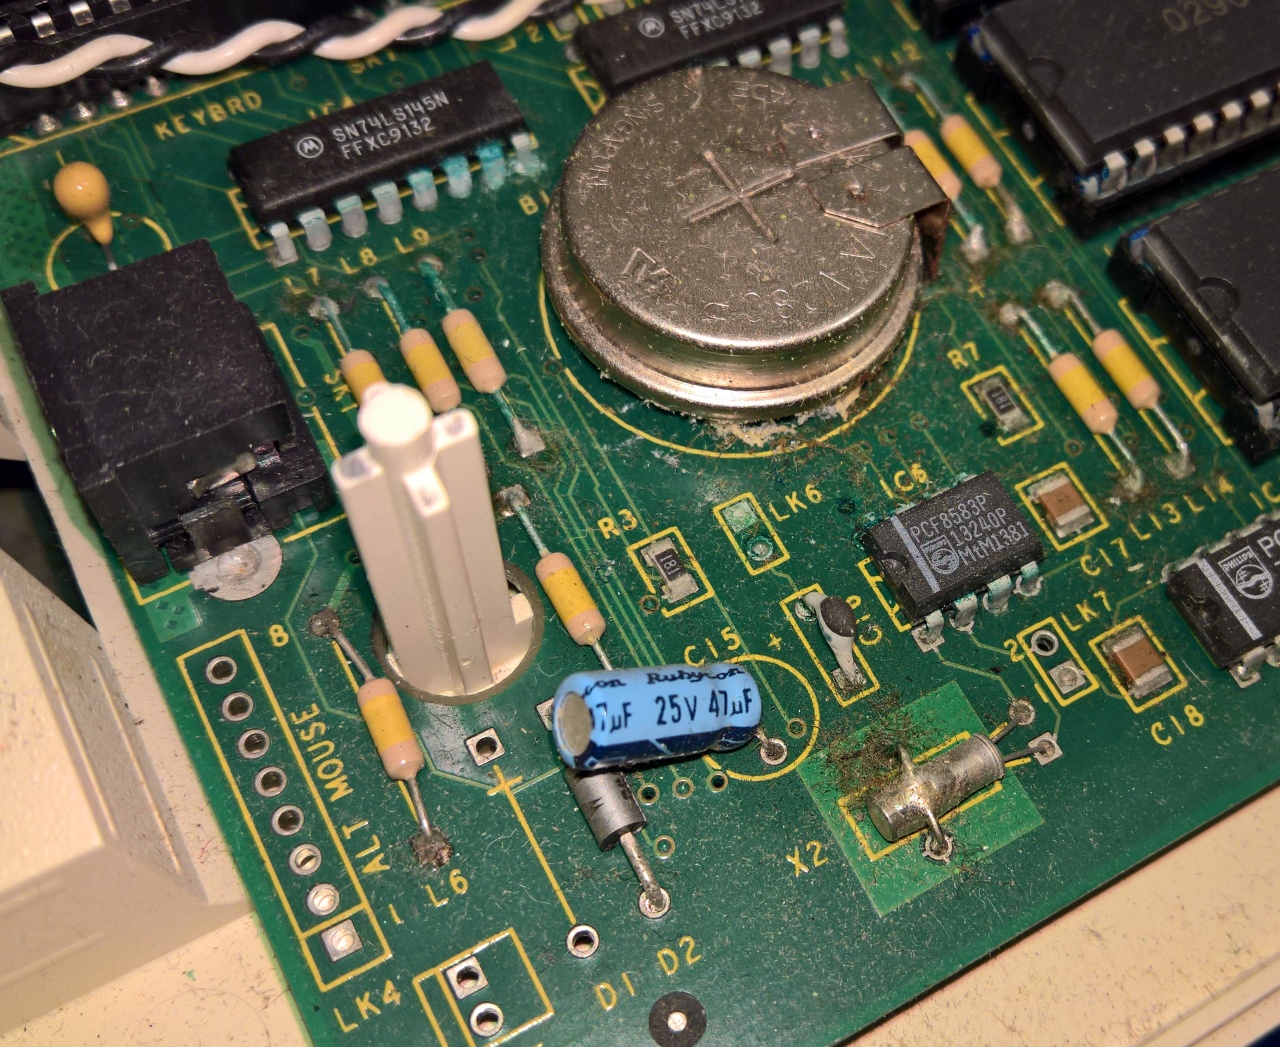
Ok, so it’s leaked, but it’s not too bad by the looks of it. You should see how bad some of these get, I’ve seen rot way past the ROM chips and North of the keyboard connectors.
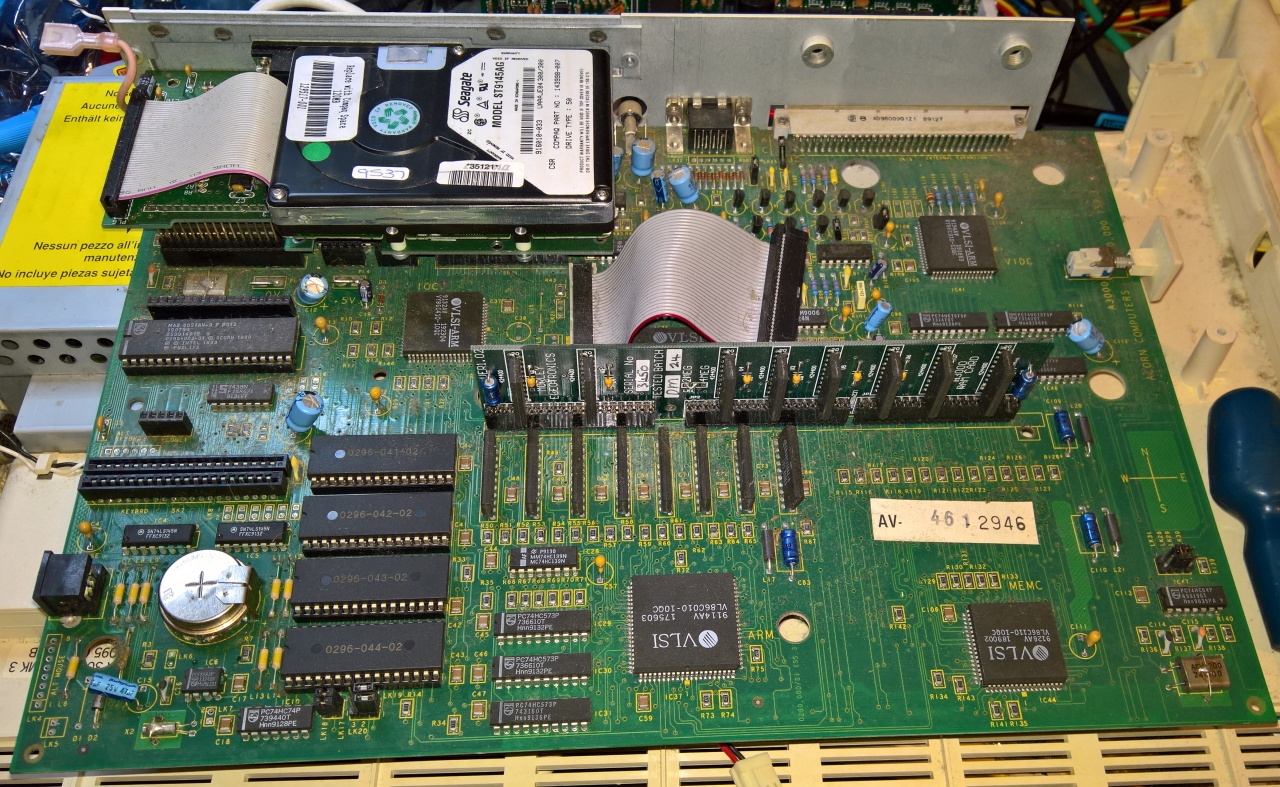
I love the design of this thing. You’ve only got to remove the screws for the Floppy drive, then 3 screws from the main PCB and then PCB with backplane just lifts (well wiggles) out of the base
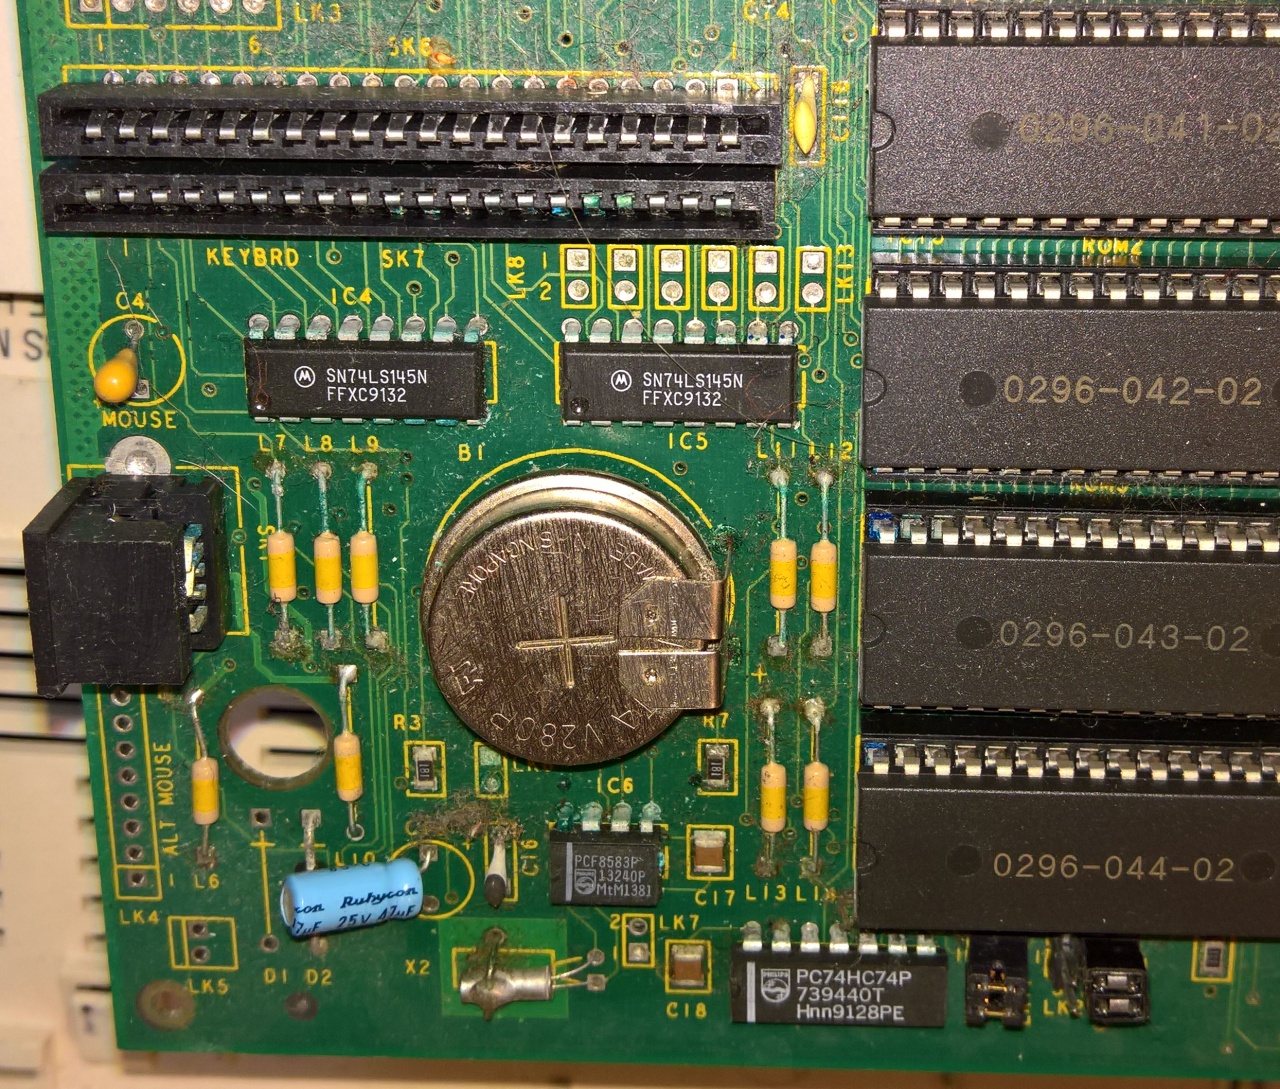
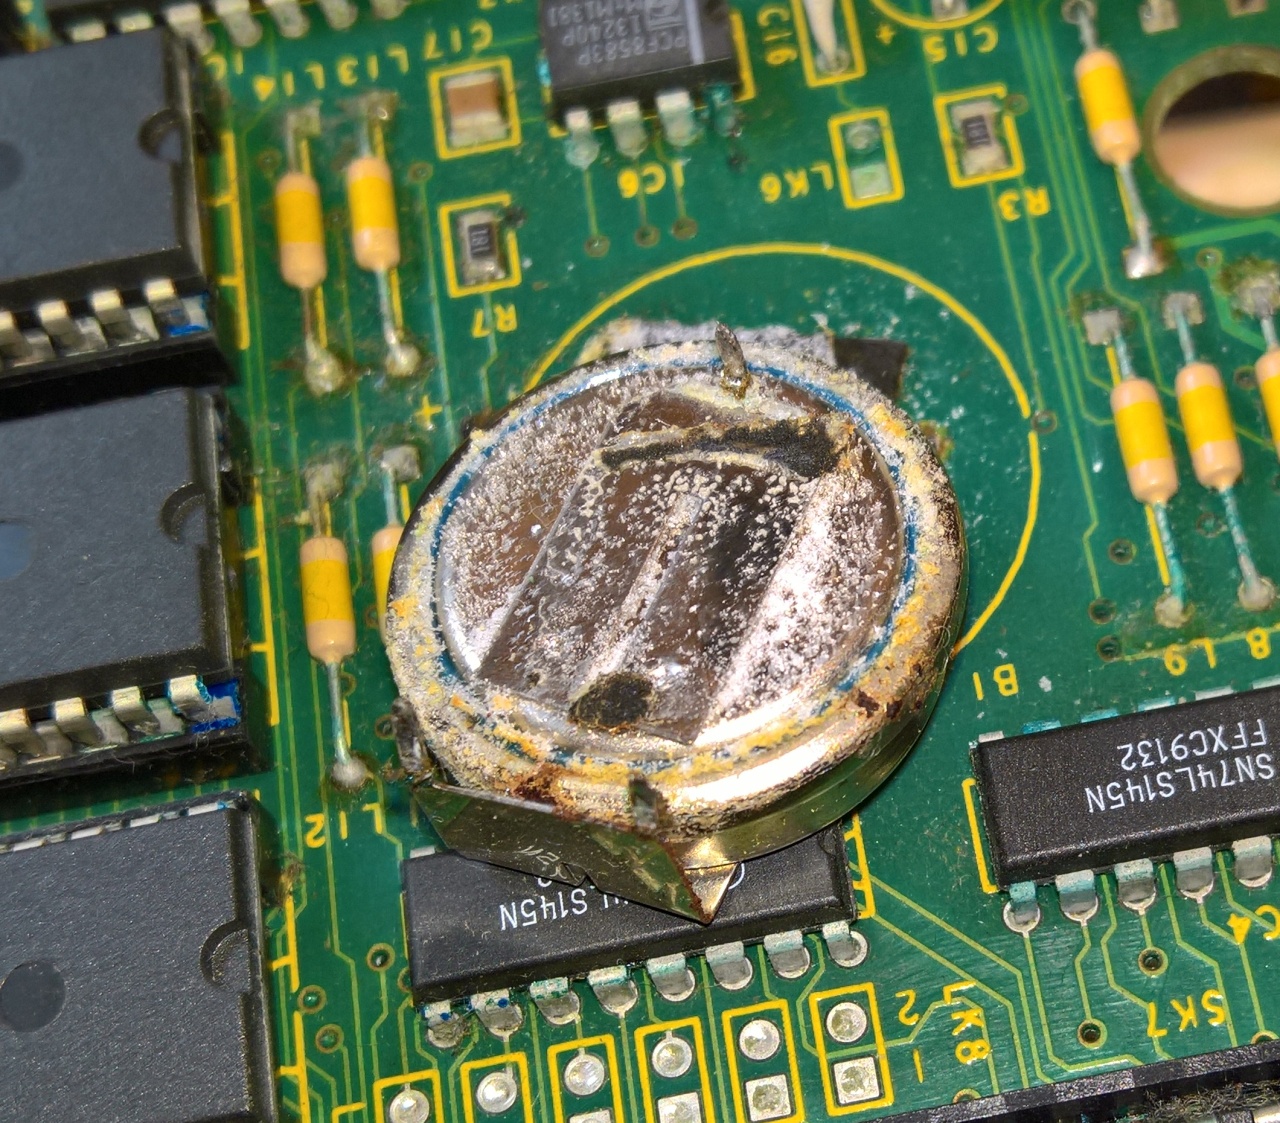
Closer look at the rottage. The 8583 really doesn’t look good, and you can see the alkaline has reached the rom and keyboard sockets 🙁
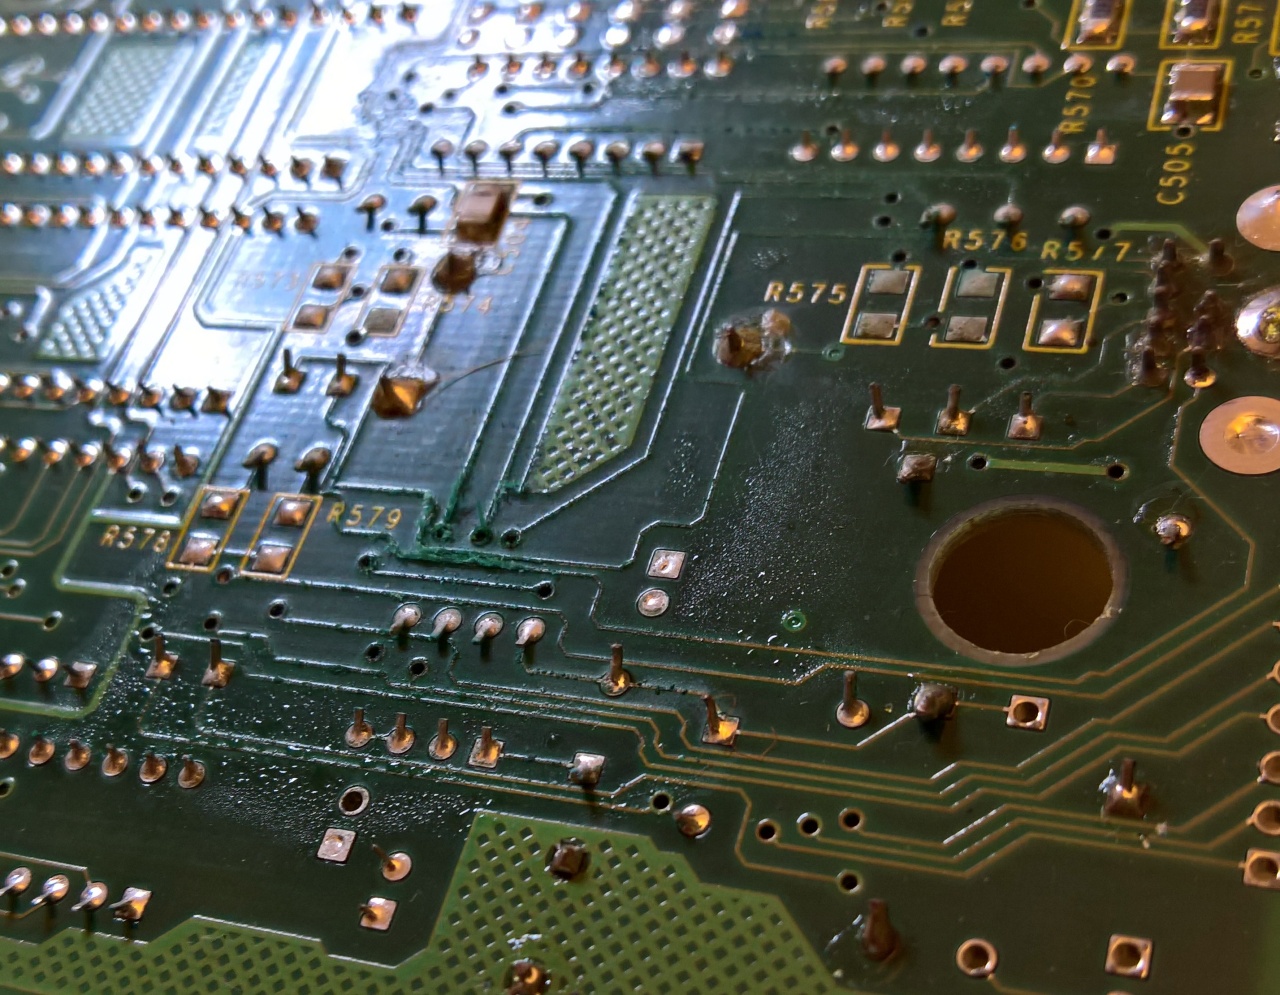
Humm, a moist bottom ;D This goop has leaked out of the battery over the years and started to break down the copper tracks under the solder resist, check out the fur.
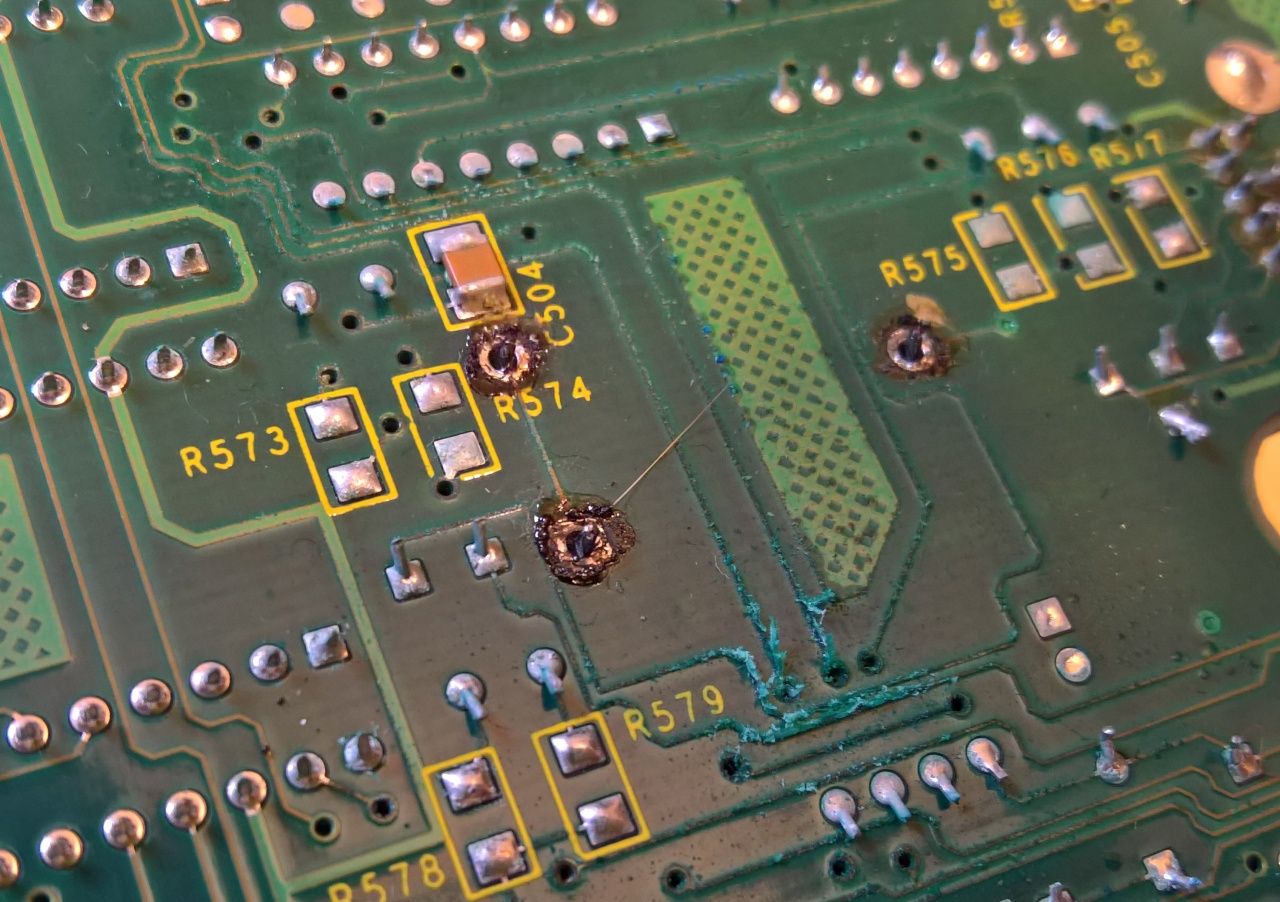
Old battery de-soldered. Close up of PCB fur.
I’ll get this listed on ebay later. Unable to test, worked the last time I used it. (See #Brroken)
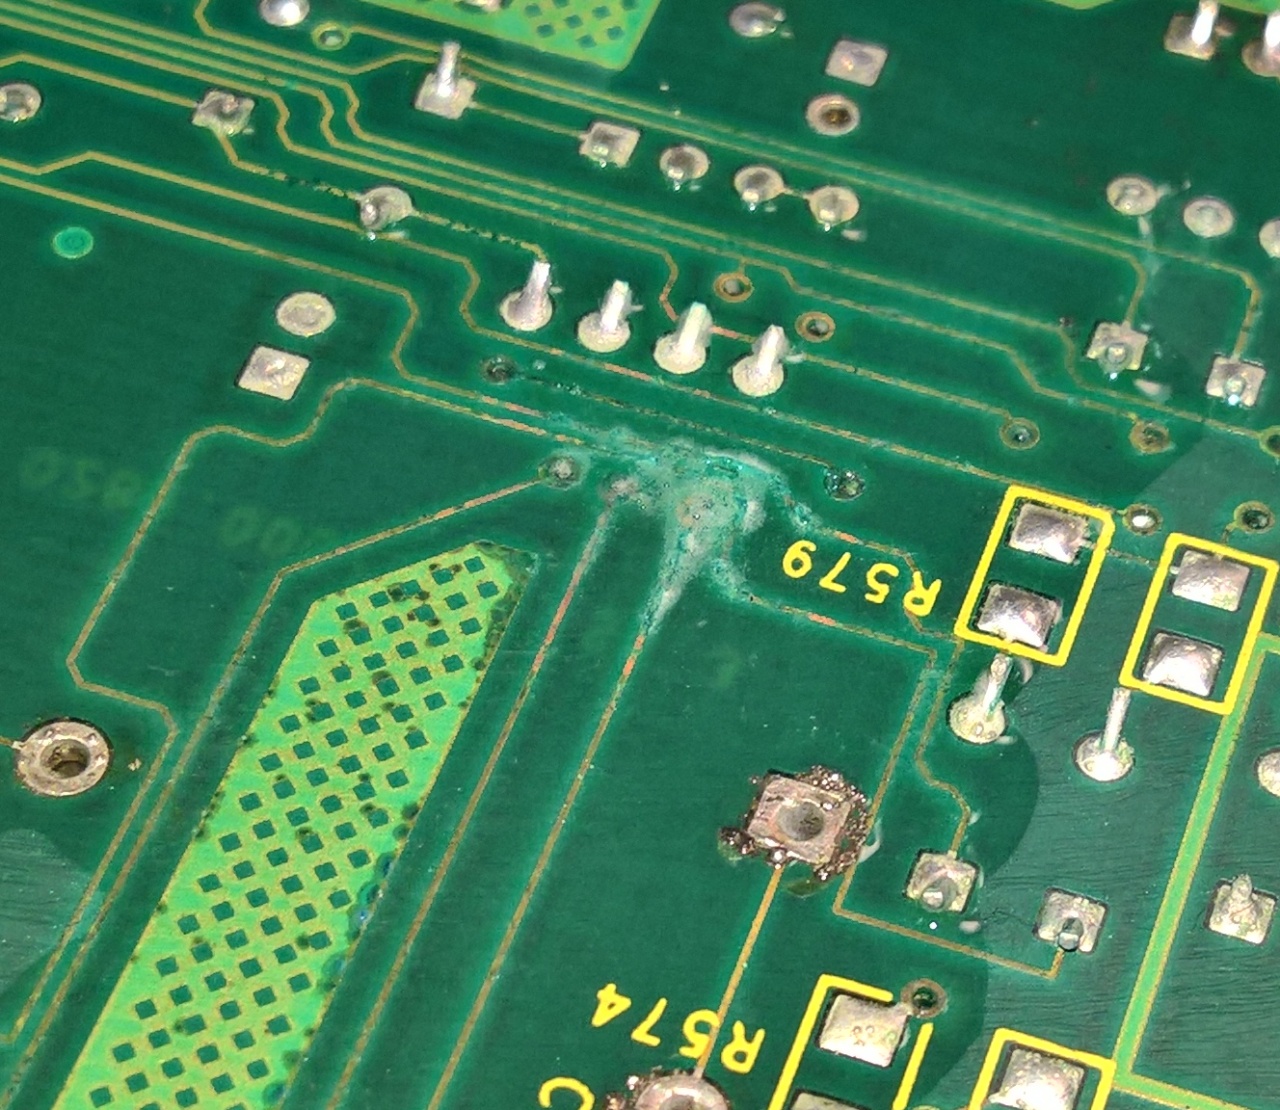
Ok, so you’ve probably read some of my other corrosion repairs. But basically, give it a quick wash down then apply a mild acid to remove the alkaline. The foaming shows how bad the rot was.. So very lucky the inner layer hasn’t pulled the rot in because when multi-layer PCB’s go (See Amiga 4000) you may as well forget it.
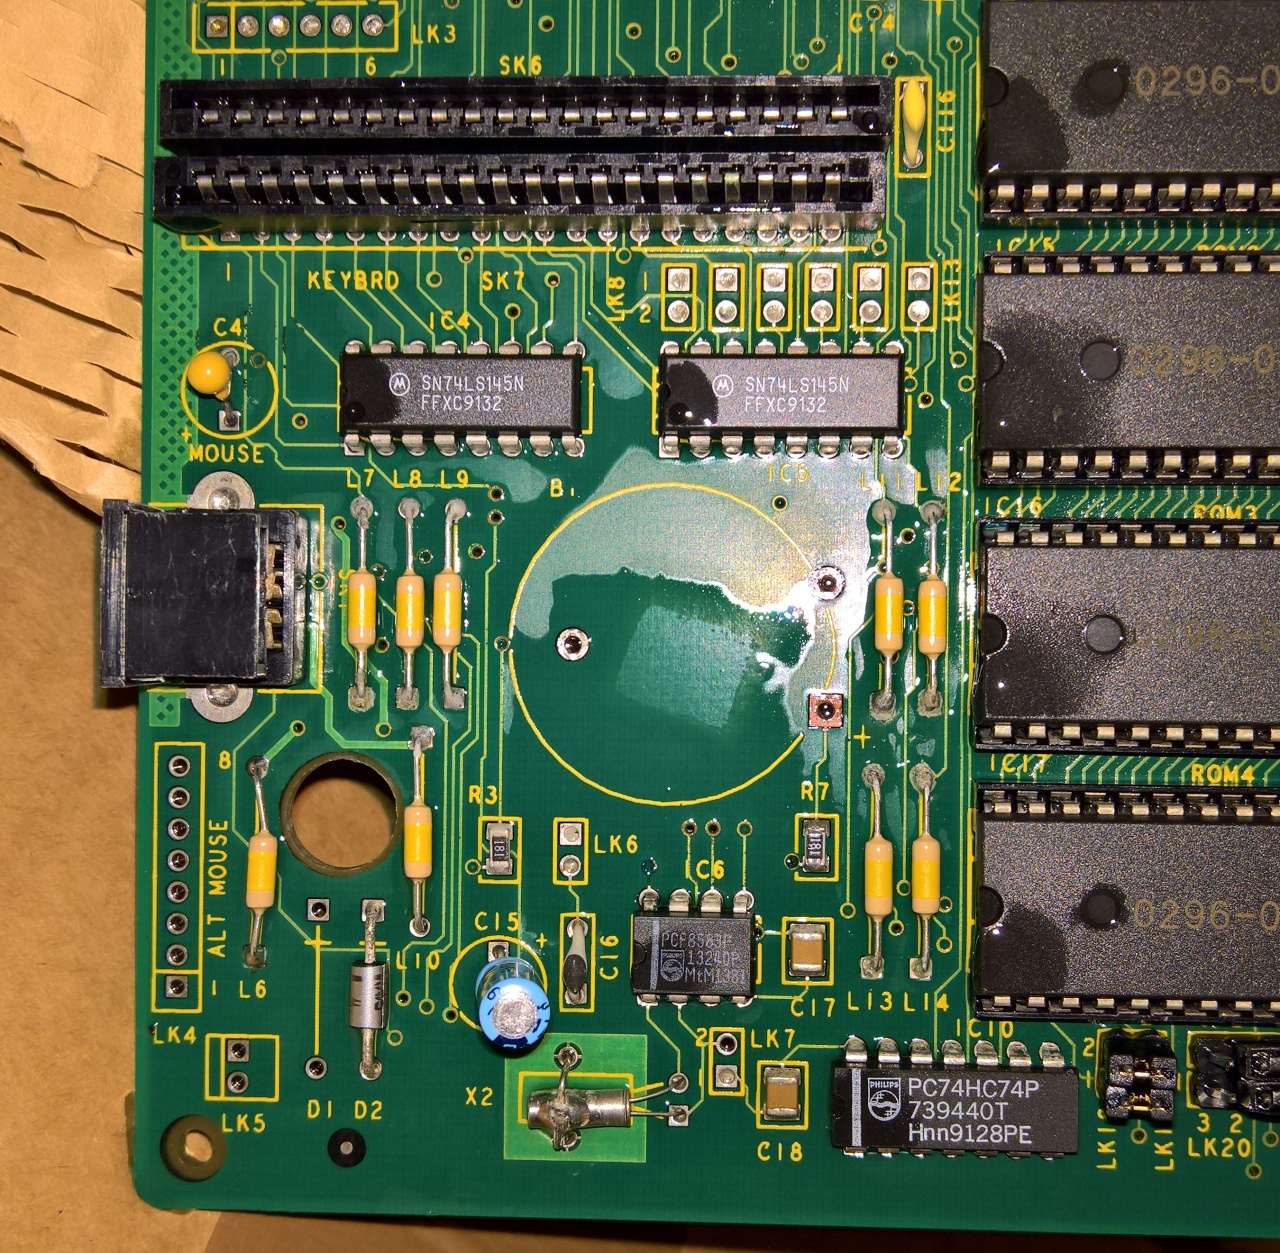
I didn’t want to spend too much time on this (I don’t have much of it these days) so I left the Roms in and just did a local super quick clean. Water, IPA, ACID, PCB Cleaner then a final rinse with water. A bit of hot air later..
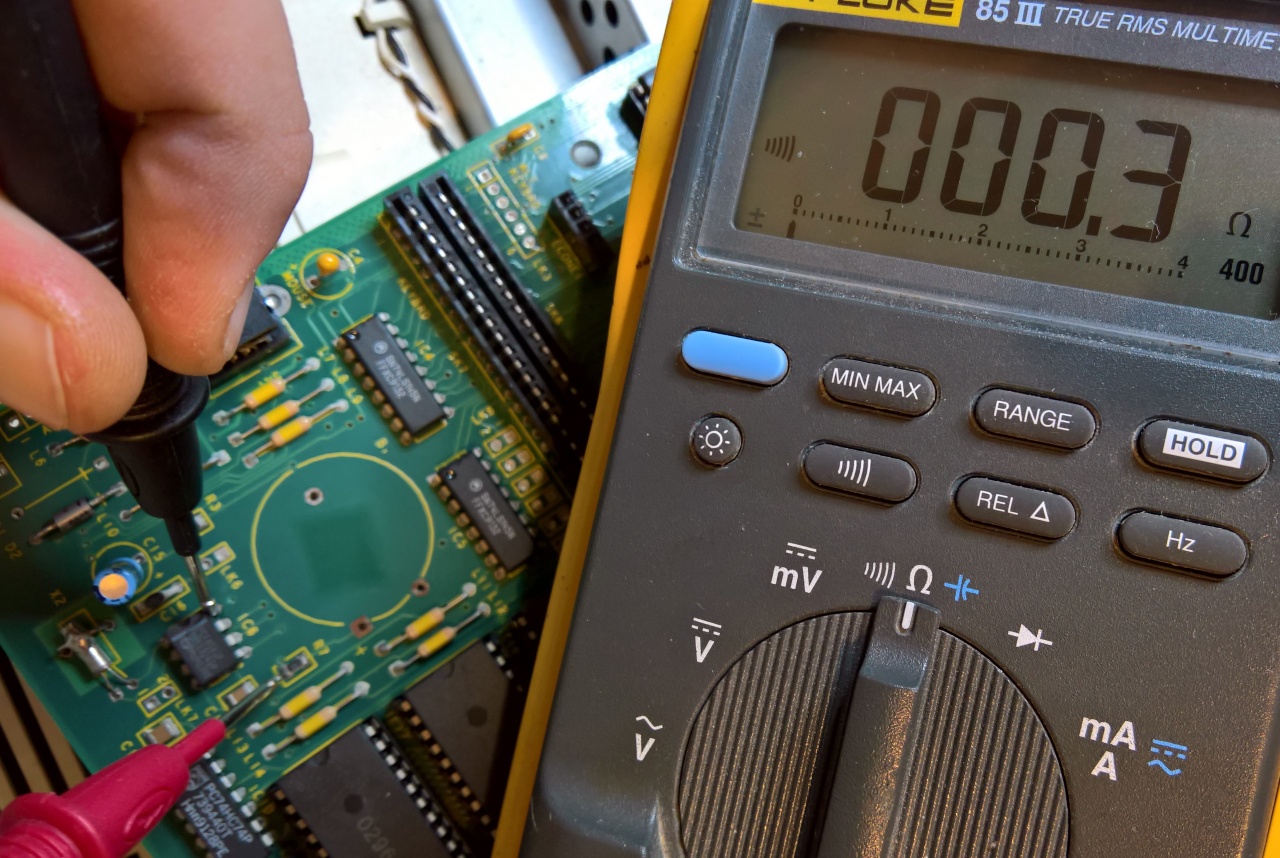
First things first, test the continuity of the worse looking PCB traces. Amazingly, all looks good
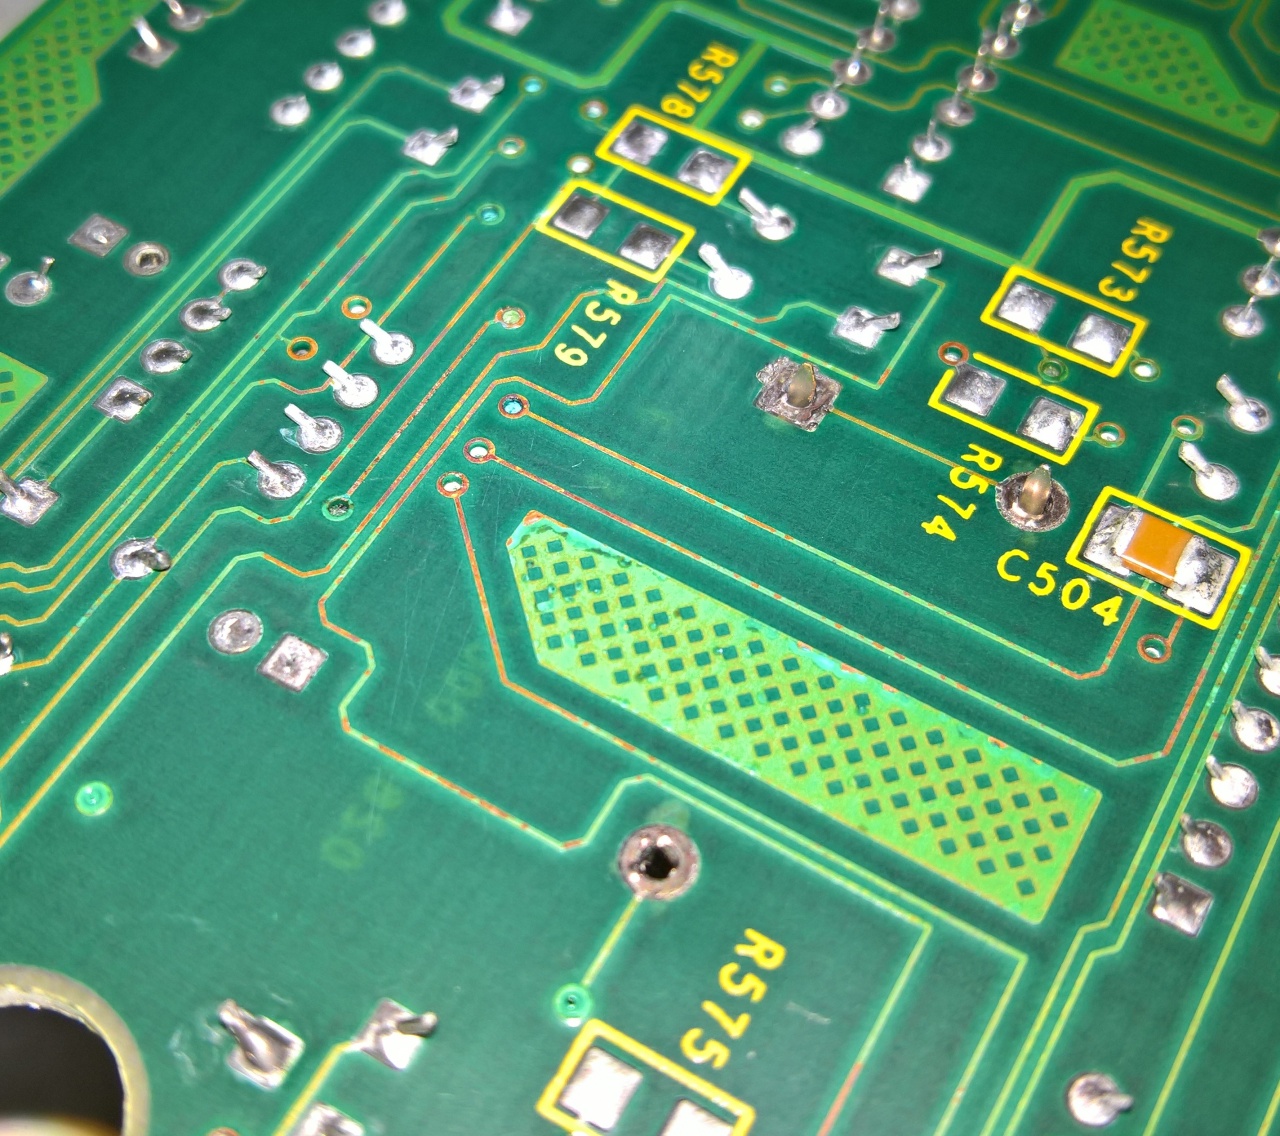
As you can see, its not looking too bad. Bugger knows why Acorn used such thin tracks, to look at them you’d think they’d be knackered.
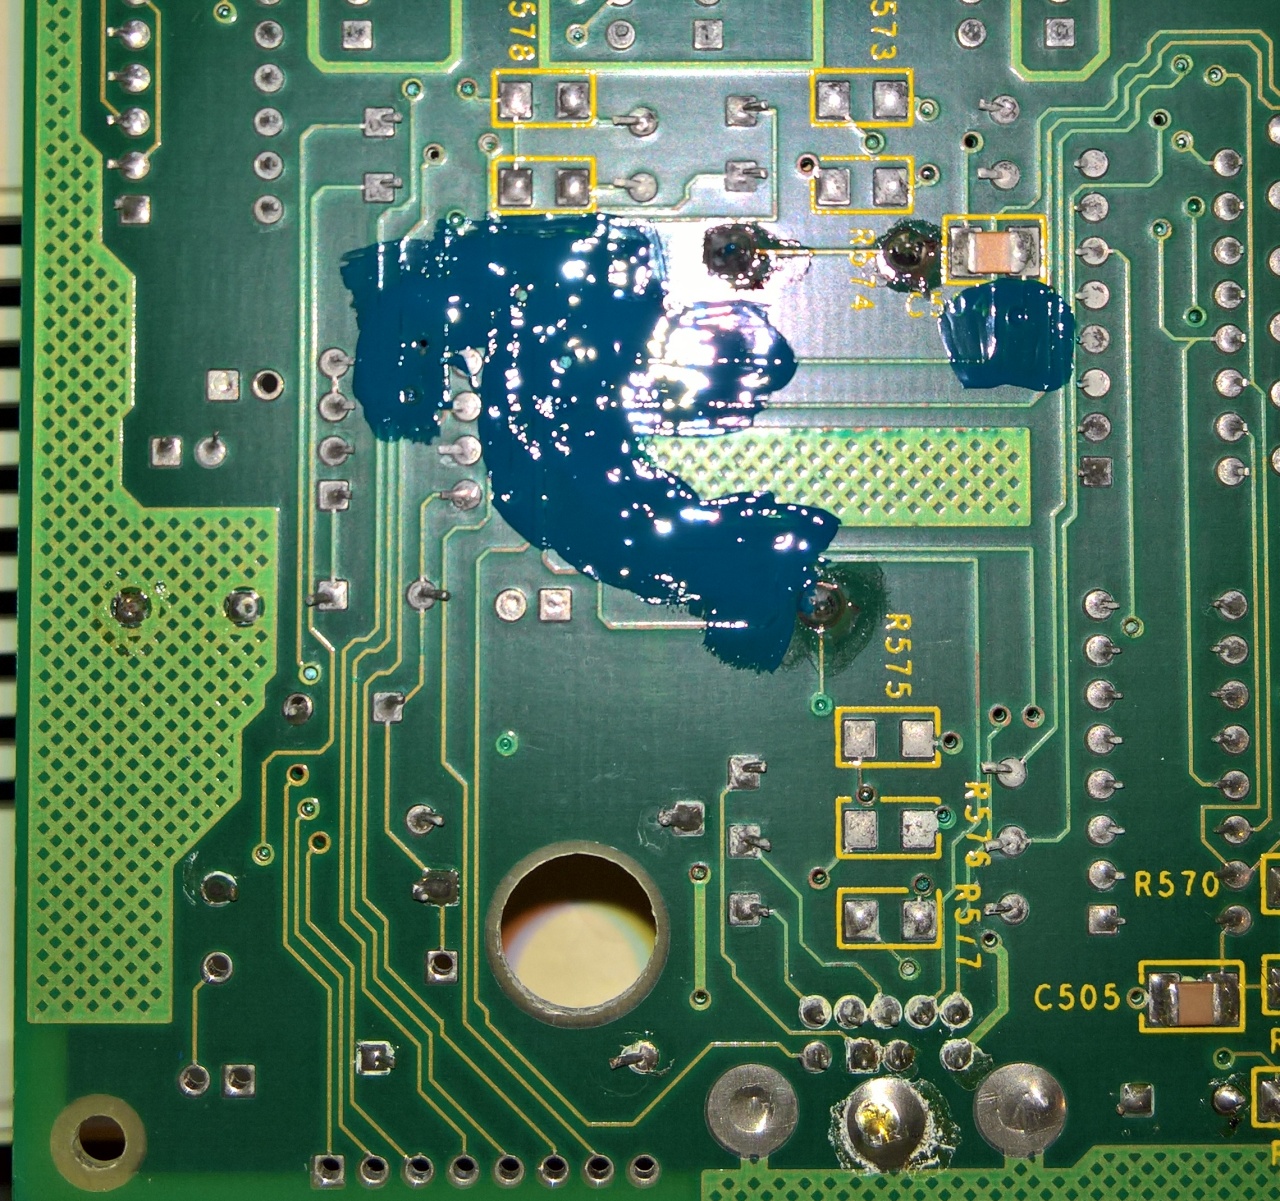
Now, I’d normally use some green solder resist to patch over the exposed tracks, but as I didn’t want to waste a bunch of time with the UV lights setting it, blue nail varnish will do 😀 Note to self, buy some nail varnish in PCB green!
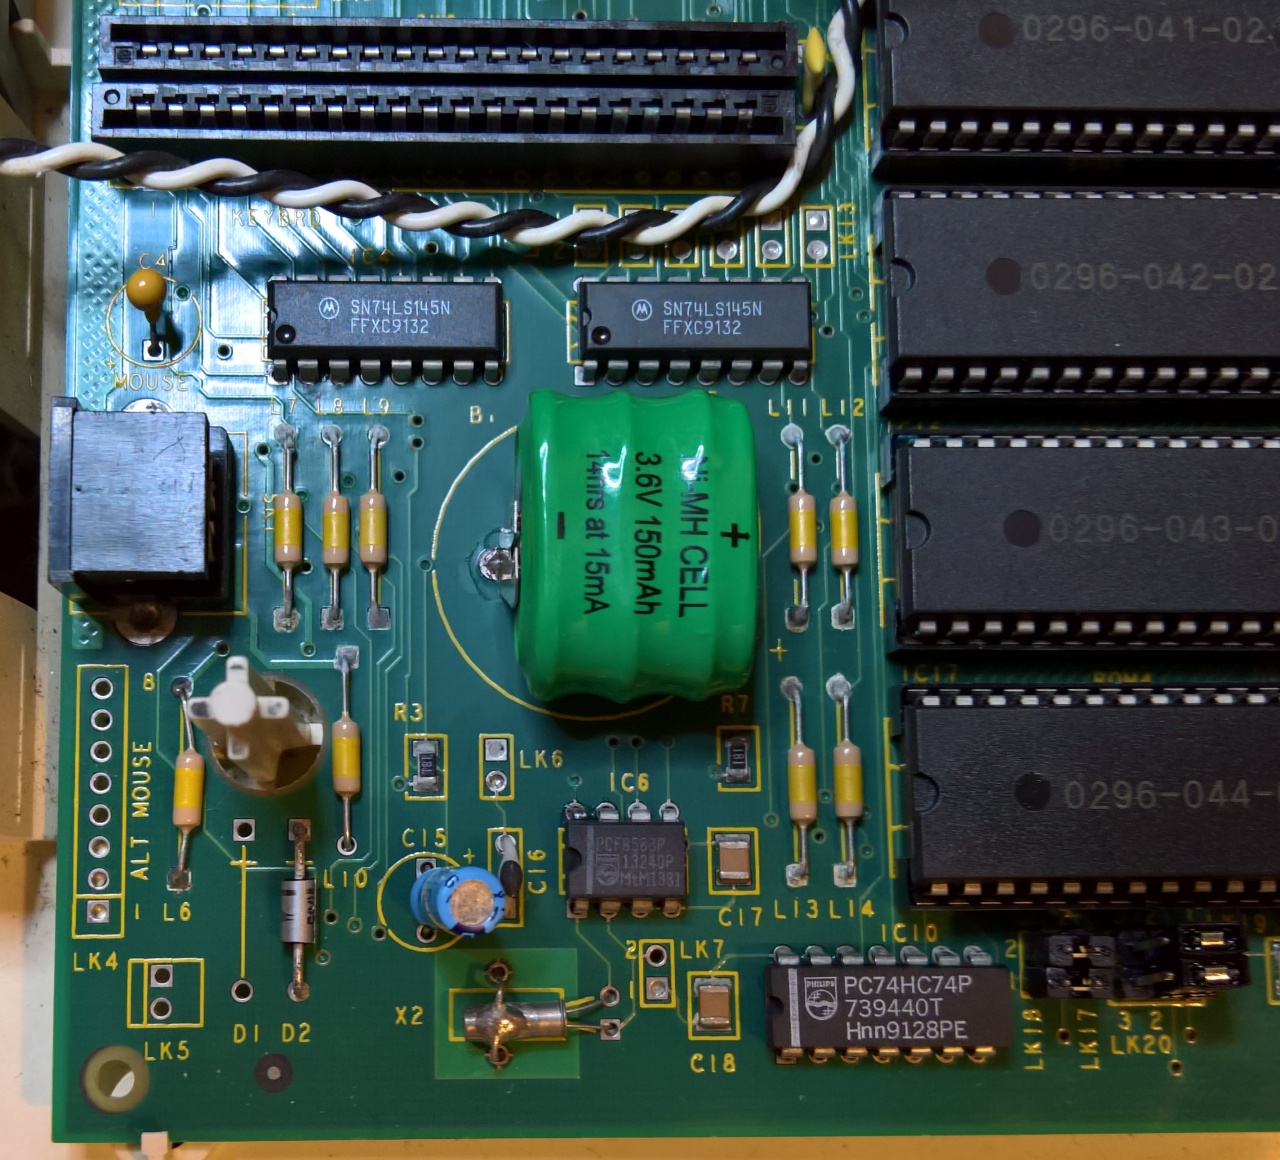
Back on top, new none leaky Ni-MH-battery installed, check out C15, rattling around like a ‘thingy’ in a bucket.. Ended up top soldering this one
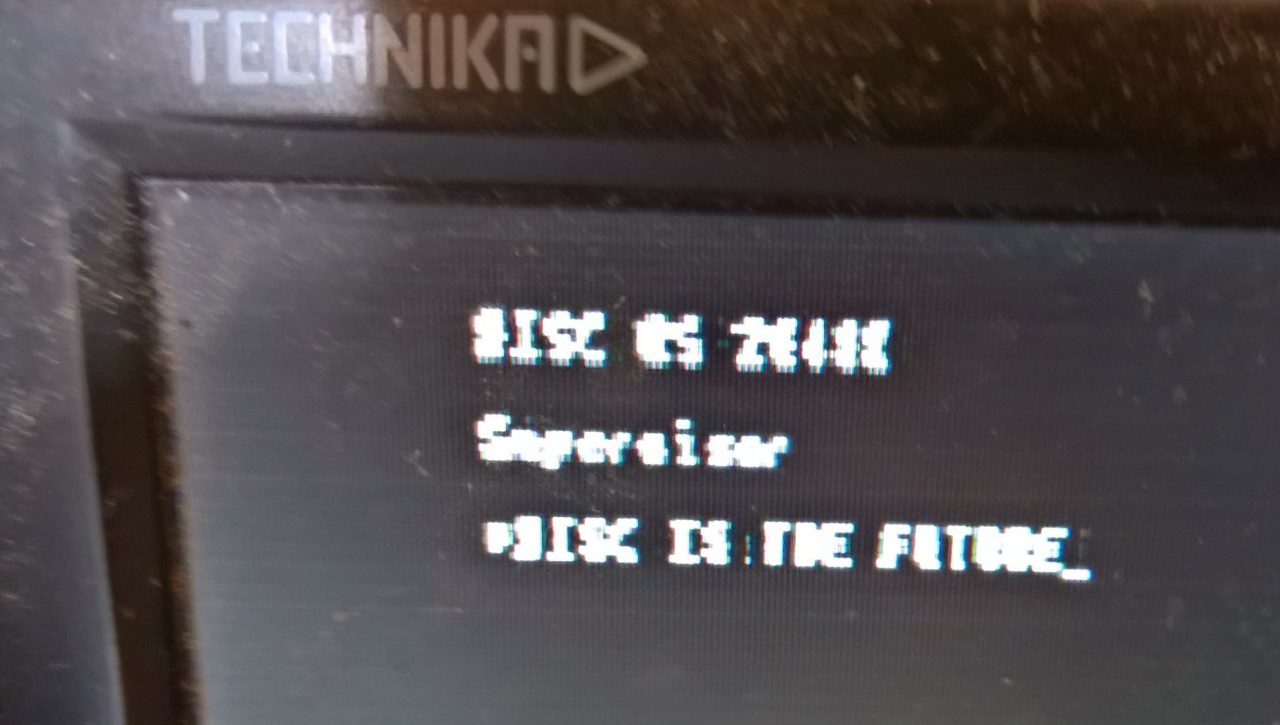
So OK, it lives.. Just one more problem
You can’t really do anything with an A3000 without a mouse and this Archimedes is mouse-less. 🙁
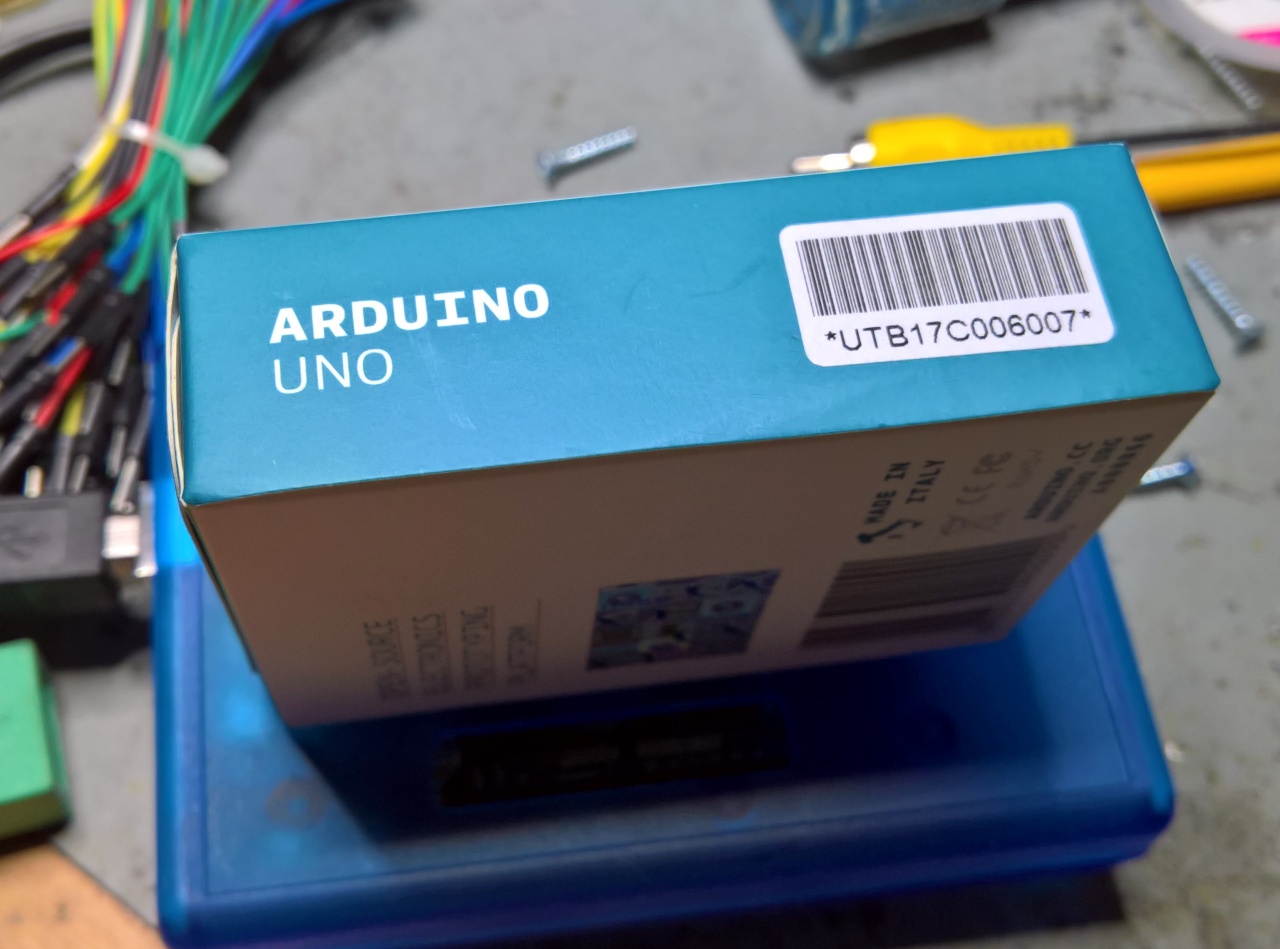
Did a bit of Googling and asking around on Twitter, to see what I could do about the missing mouse. Being a bank holiday, I didn’t bother buying a new mouse or a mouse converter via ebay.. Shirley I can do something with the bits I have knocking about the place. And yes maybe I can. Turns out the ‘popular’ interface found on ebay is simply a Arduino Nano in a little box. I’ve never used Arduino stuff before in anger.. So what the hell, lets dive in.
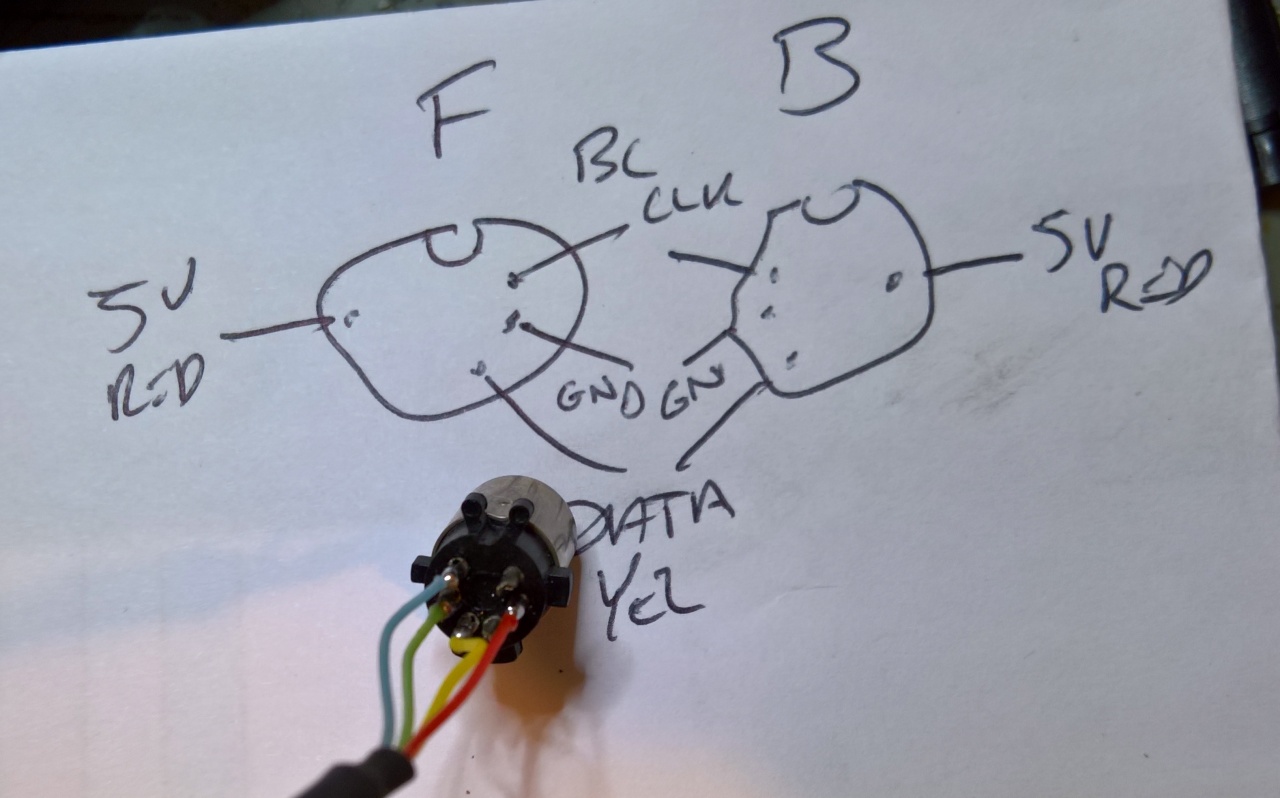
First things first, knocking up the PS/2 tail. I like scribble notes down as I go
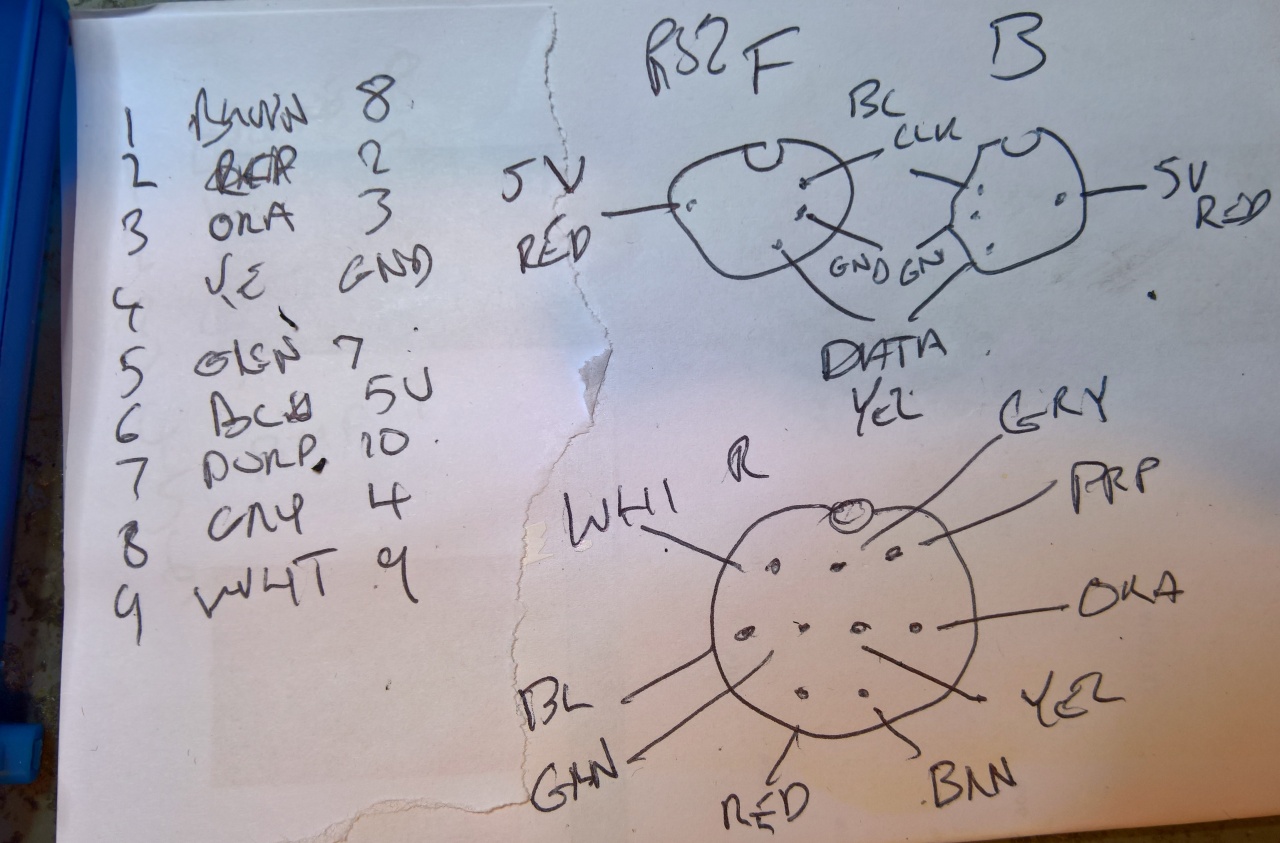
And when I say scribble I mean scribble. I could have been a Doctor you know, if I you know went to Doctor skool or somfink
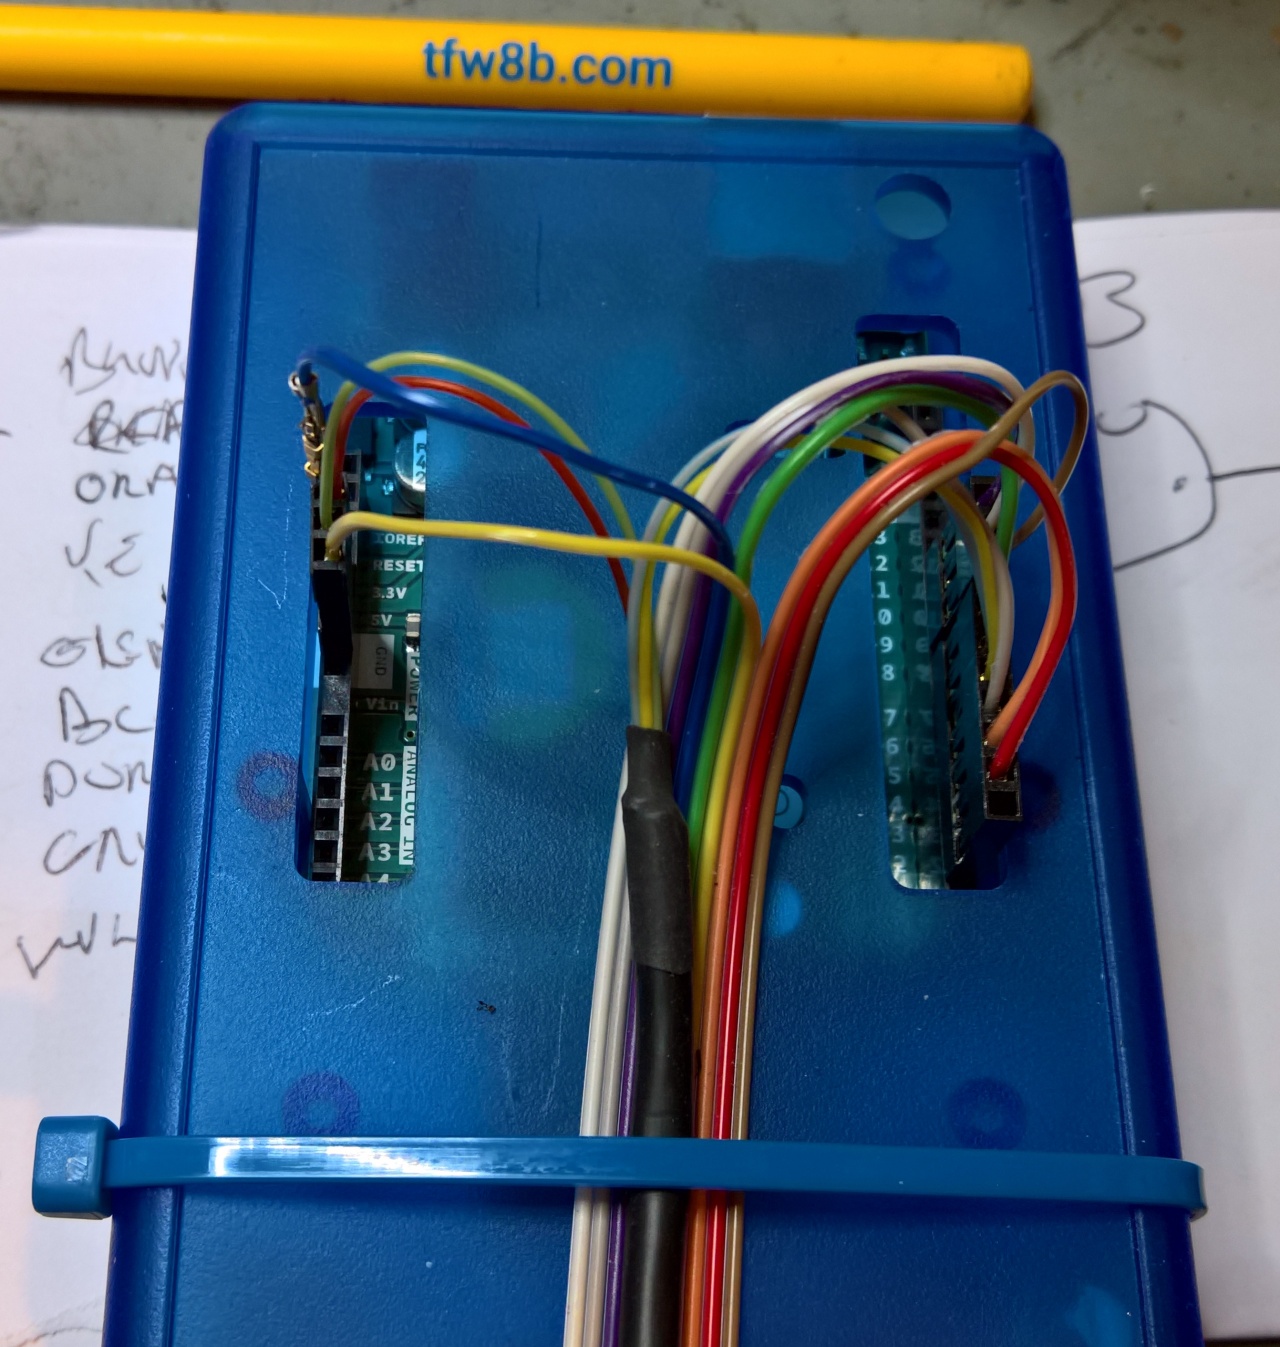
All tailed up, now to try and make a 9way mini din
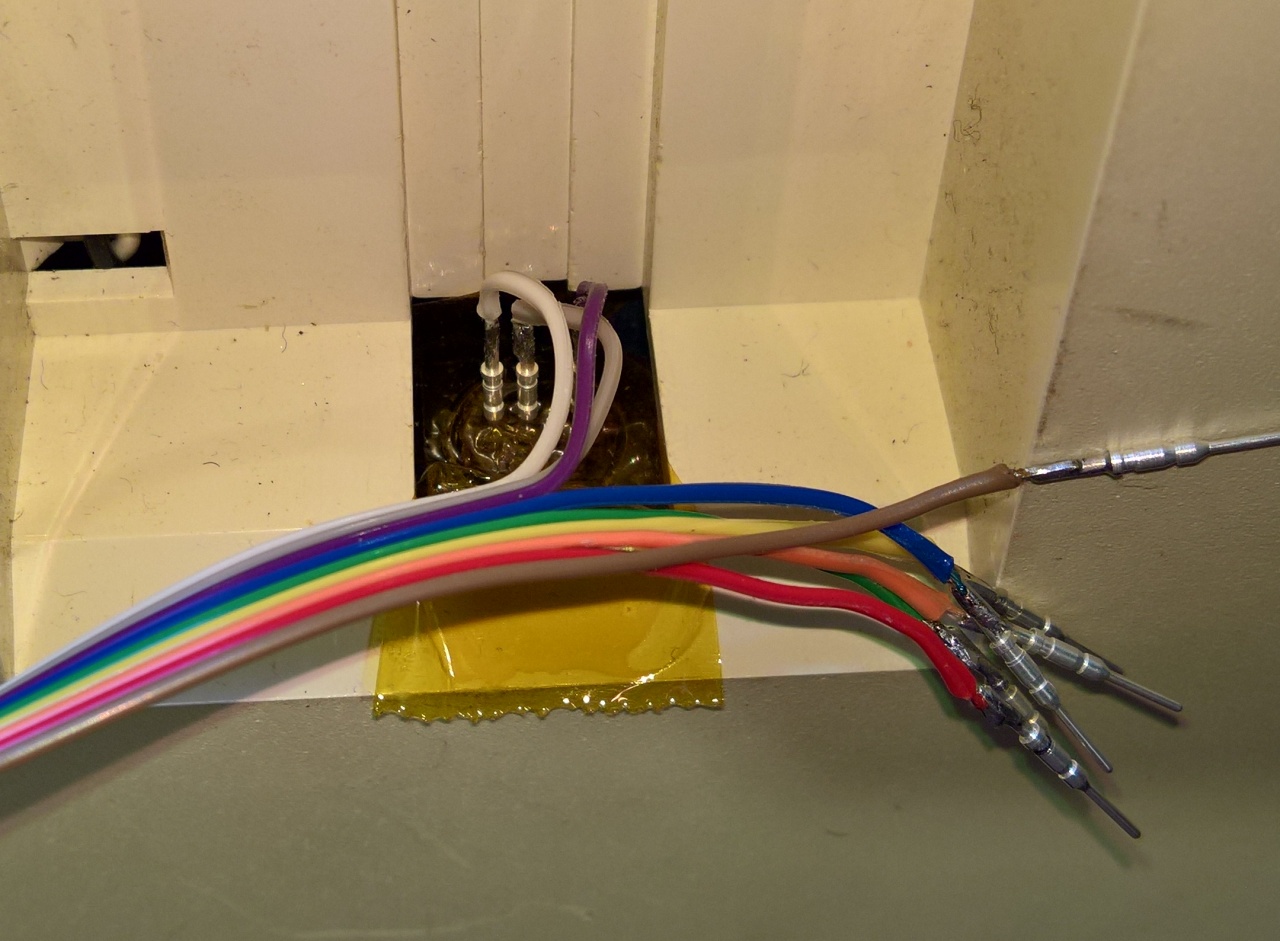
I’ve used good old Kapton tape to cover the connector.. Pins taken from standard PS/2 style connectors.. This better be worth it!!
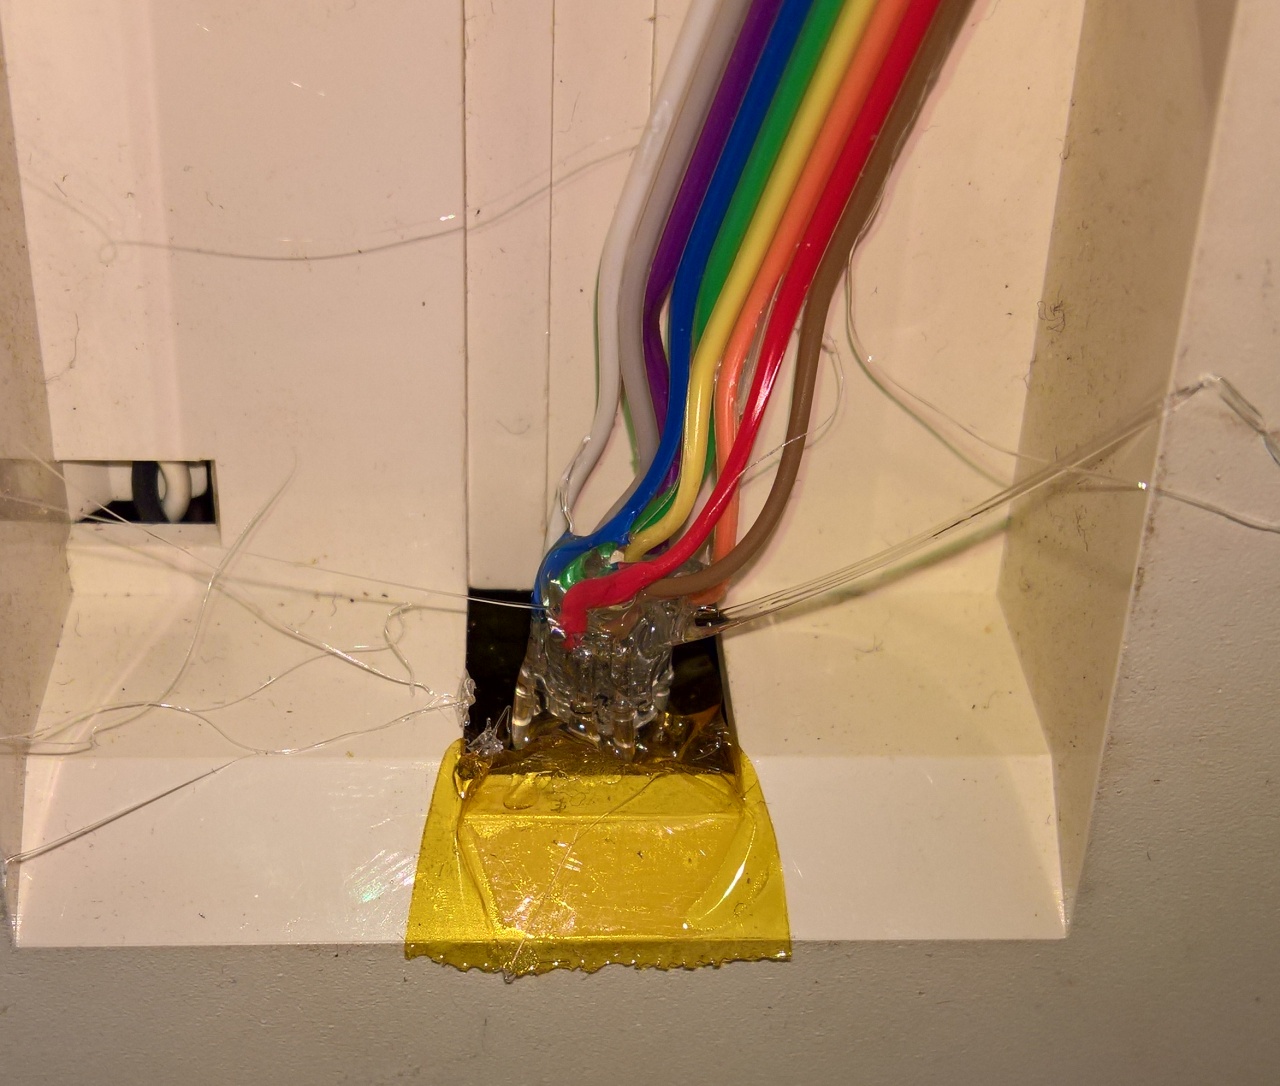
Hot glue layered in to stop shorts and hopefully hold all the tails in the right place.
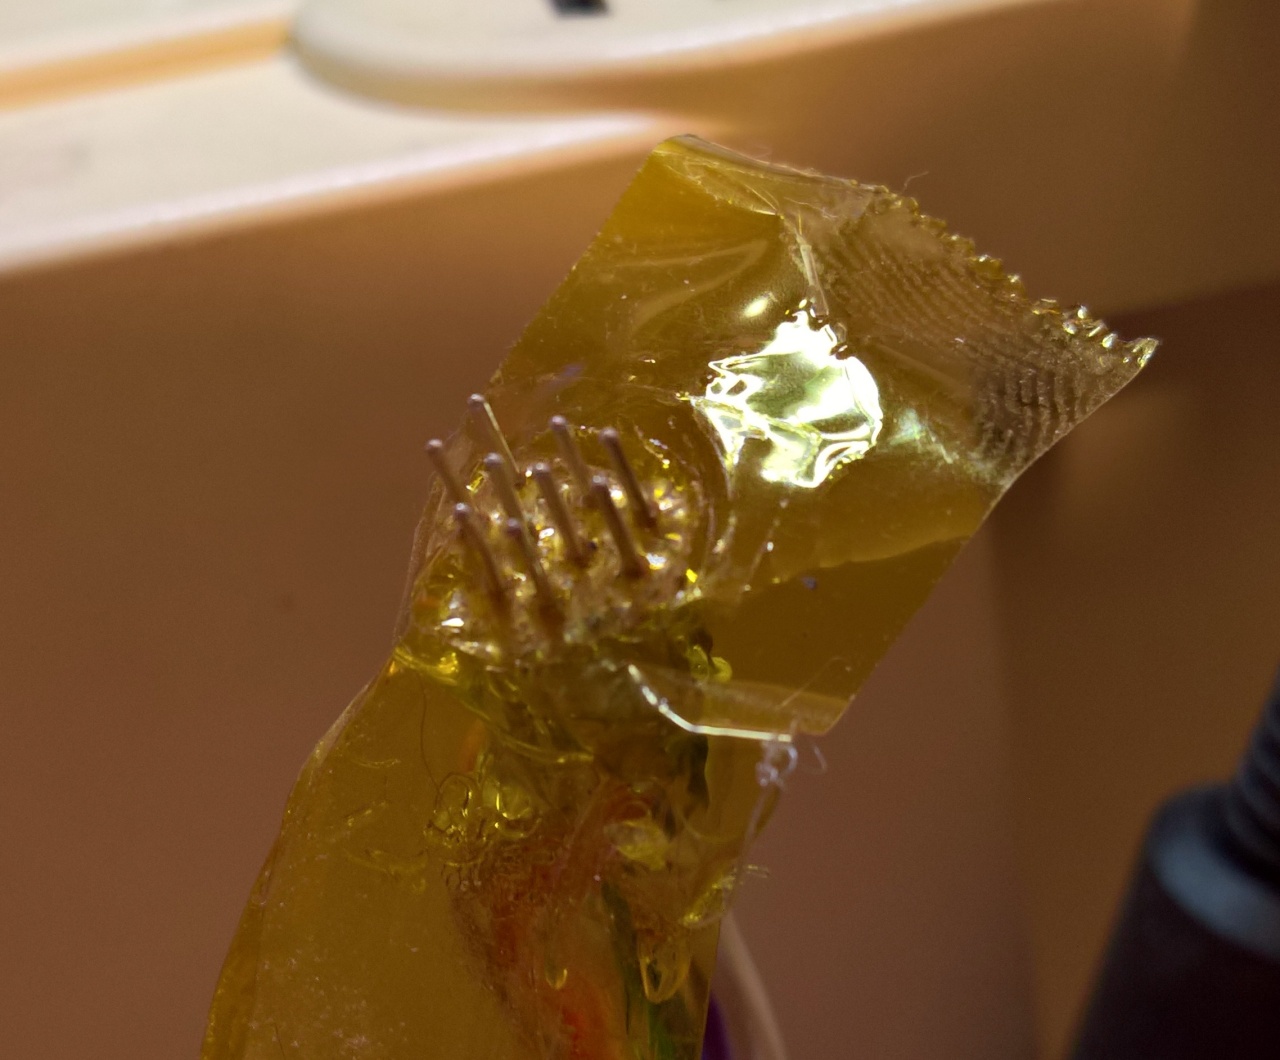
Well that worked a peach. Unfortunately although I did get some results with the Arduino, it seemed patchy at best. Some mice didn’t fire up the laser and some seemed to respond to mouse clicks. After spending a long night on this I gave up till the next day 🙁
So what next? Give up? Nah, after a bit more googling and reading between the lines….
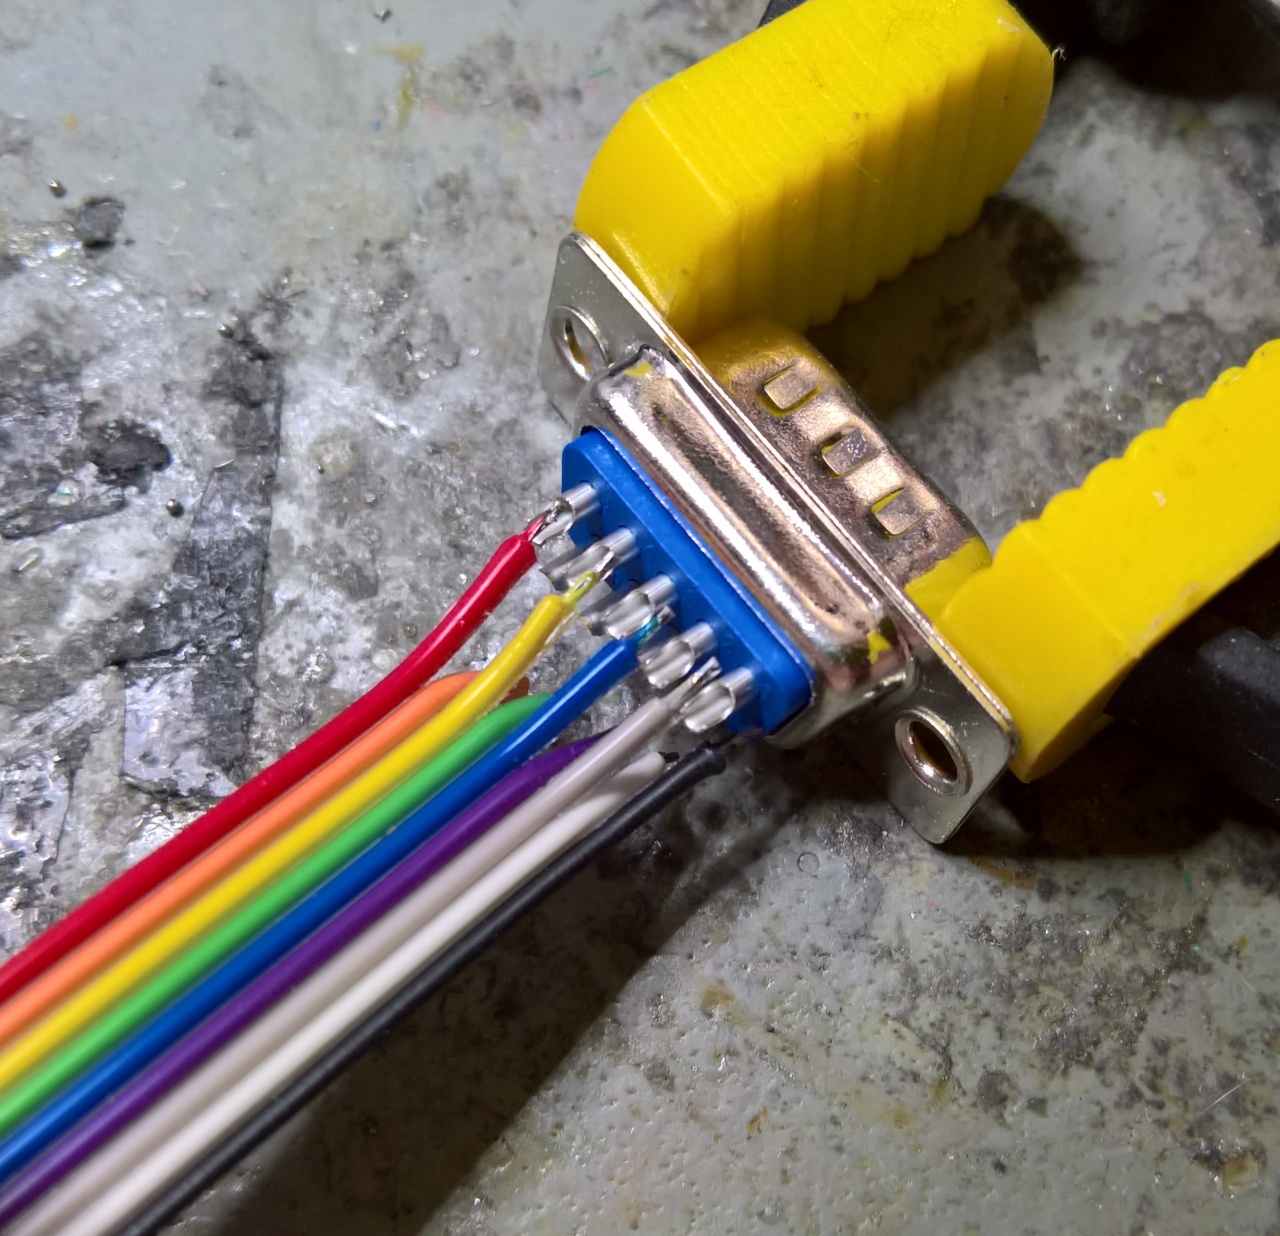
…it turns out the mouse from an Amiga or ST is basically the same deal as an Archimedes Mouse (later confirmed via clip found on youtube)
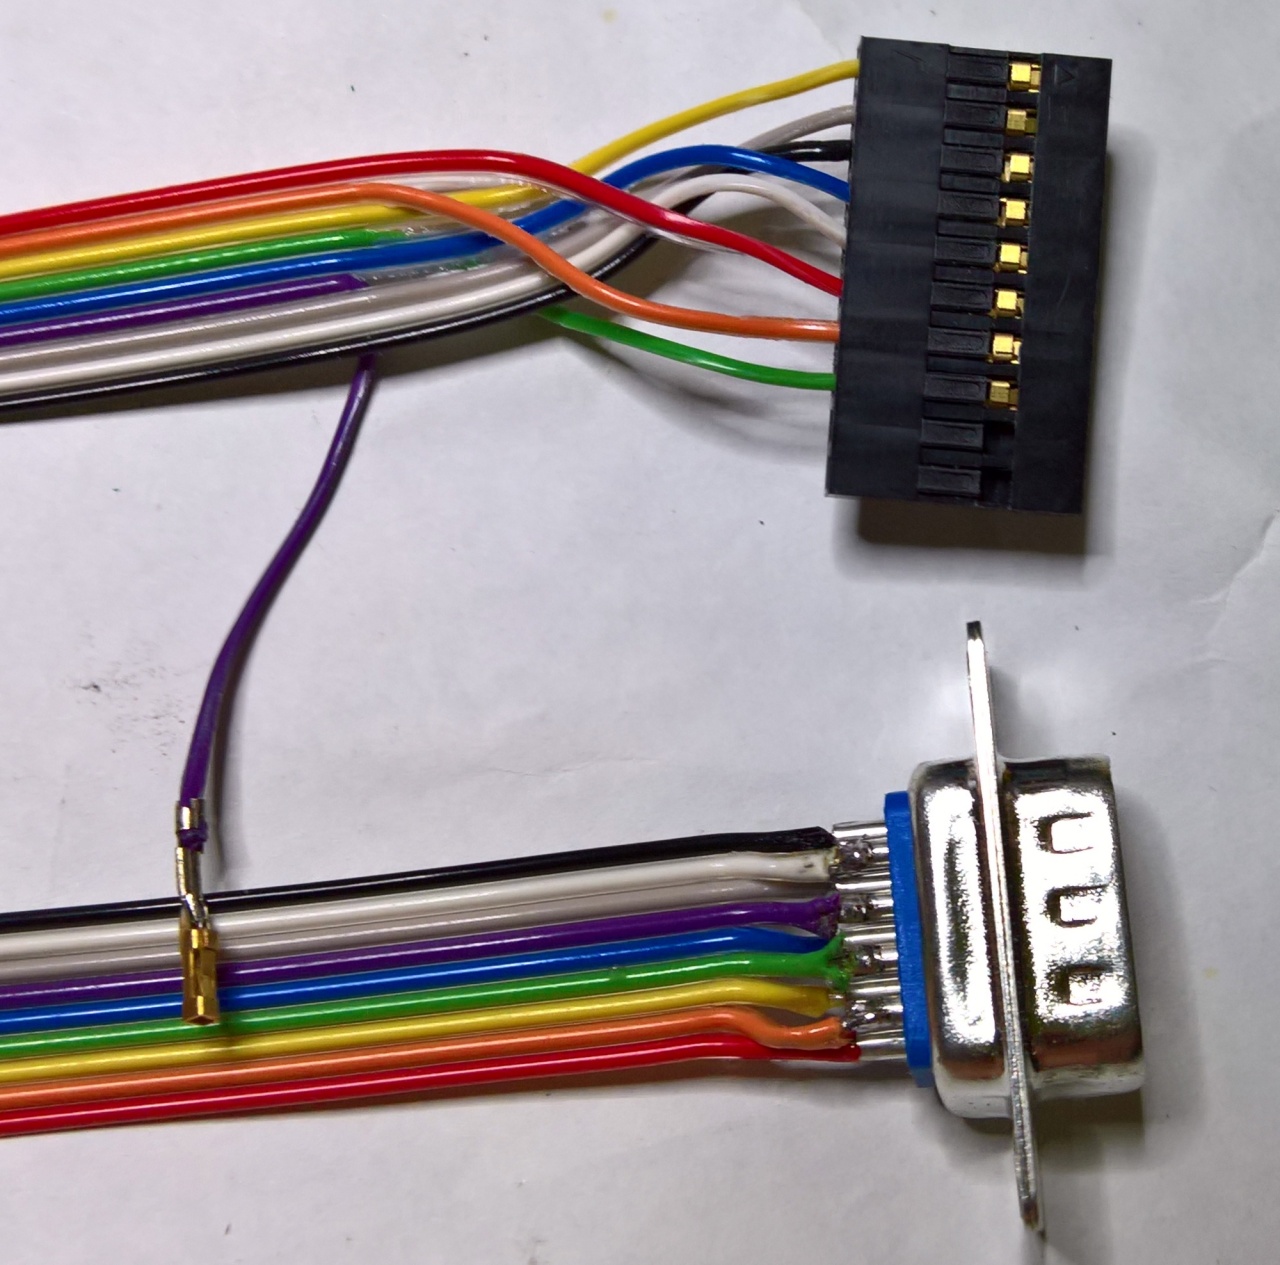
Also, the A3000 has a AUX mouse header on the PCB….
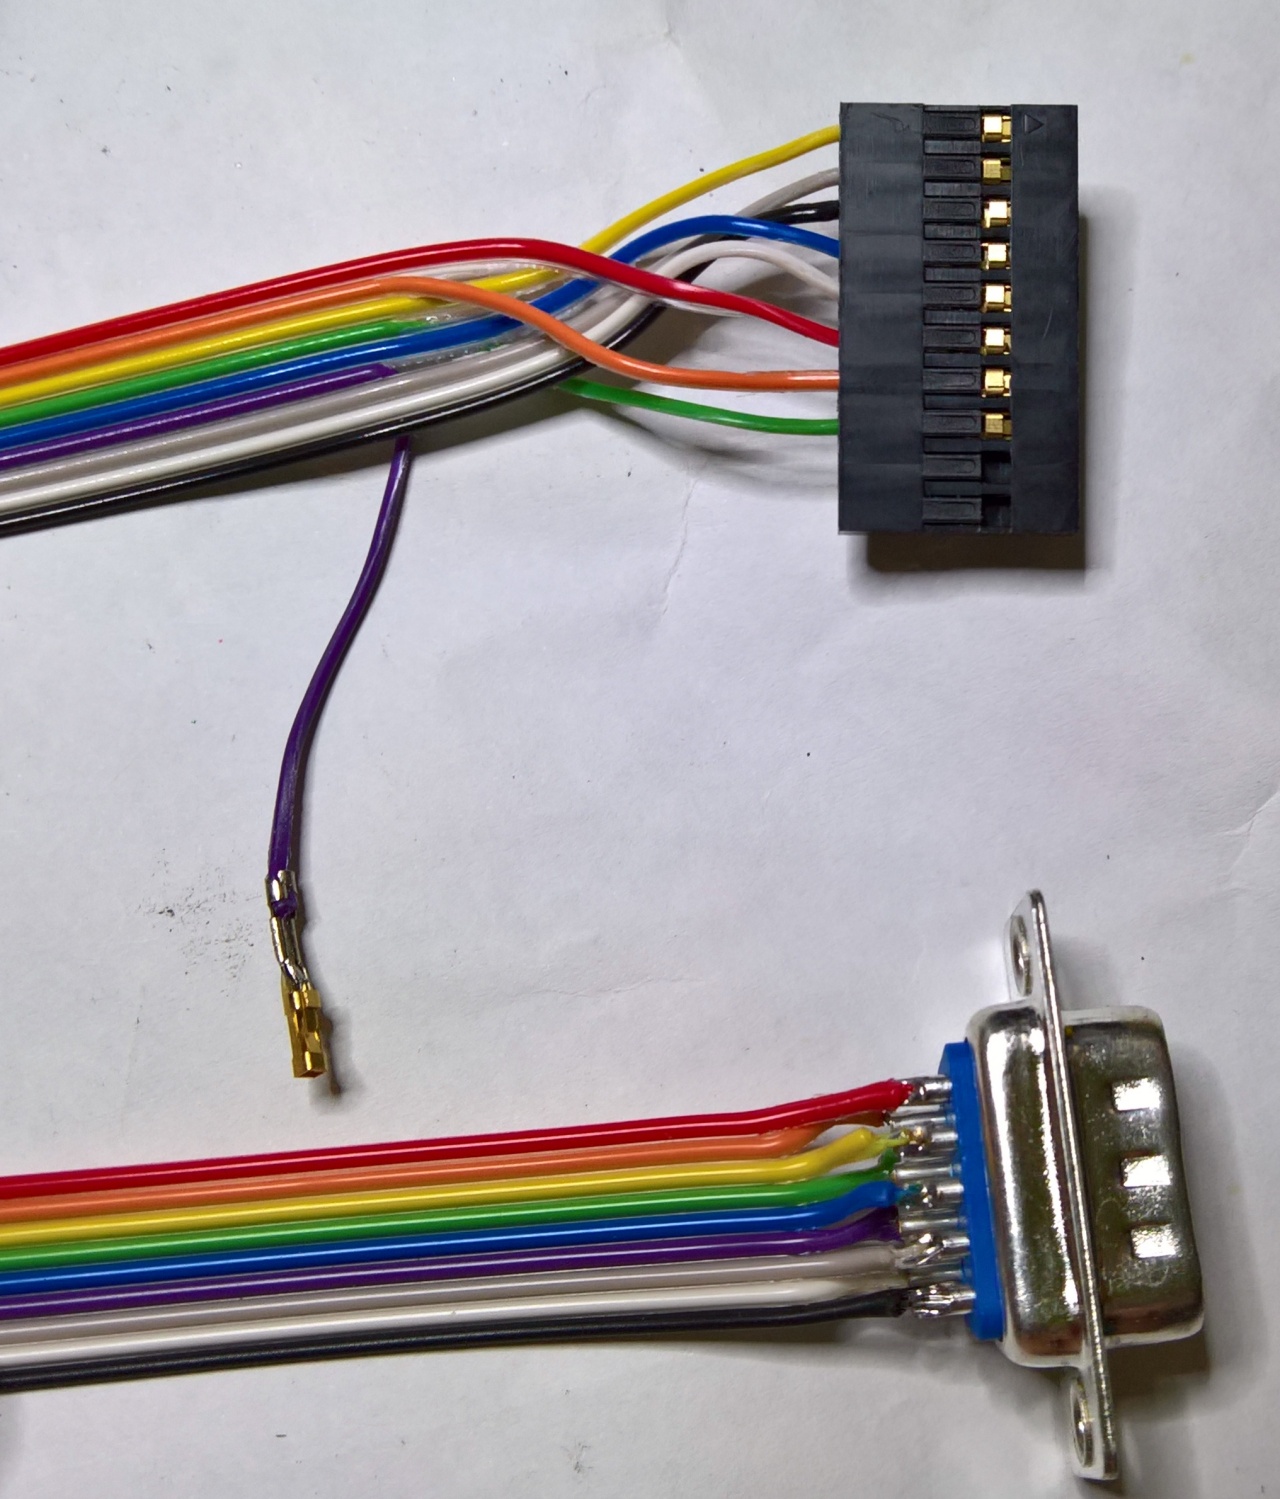
it can’t be as simple as building a 9way D to 8/9 pin header.. can it??
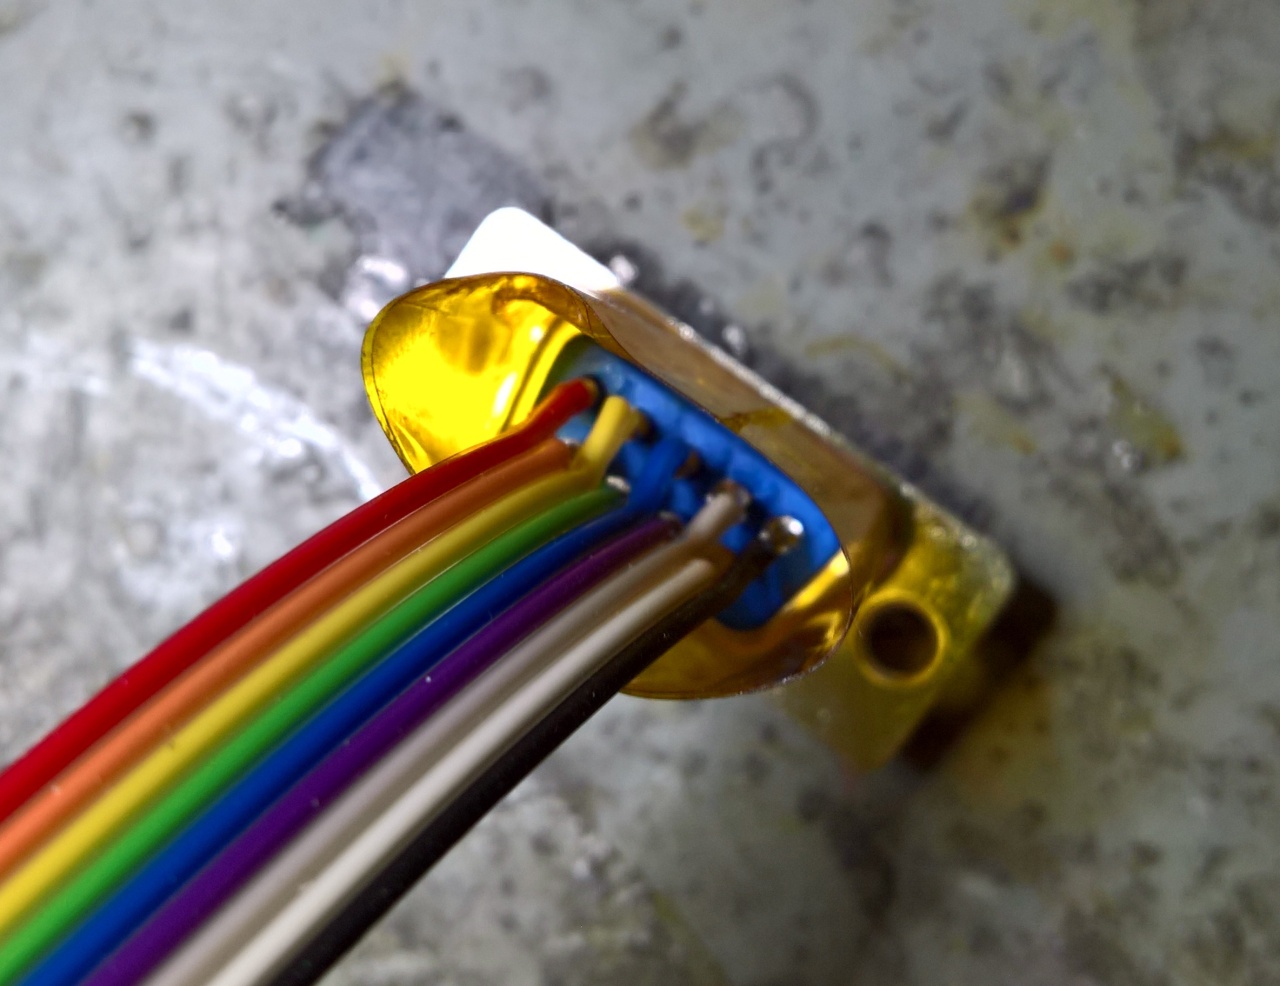
Top tip, if you’ve not got any clam shells to hand,….
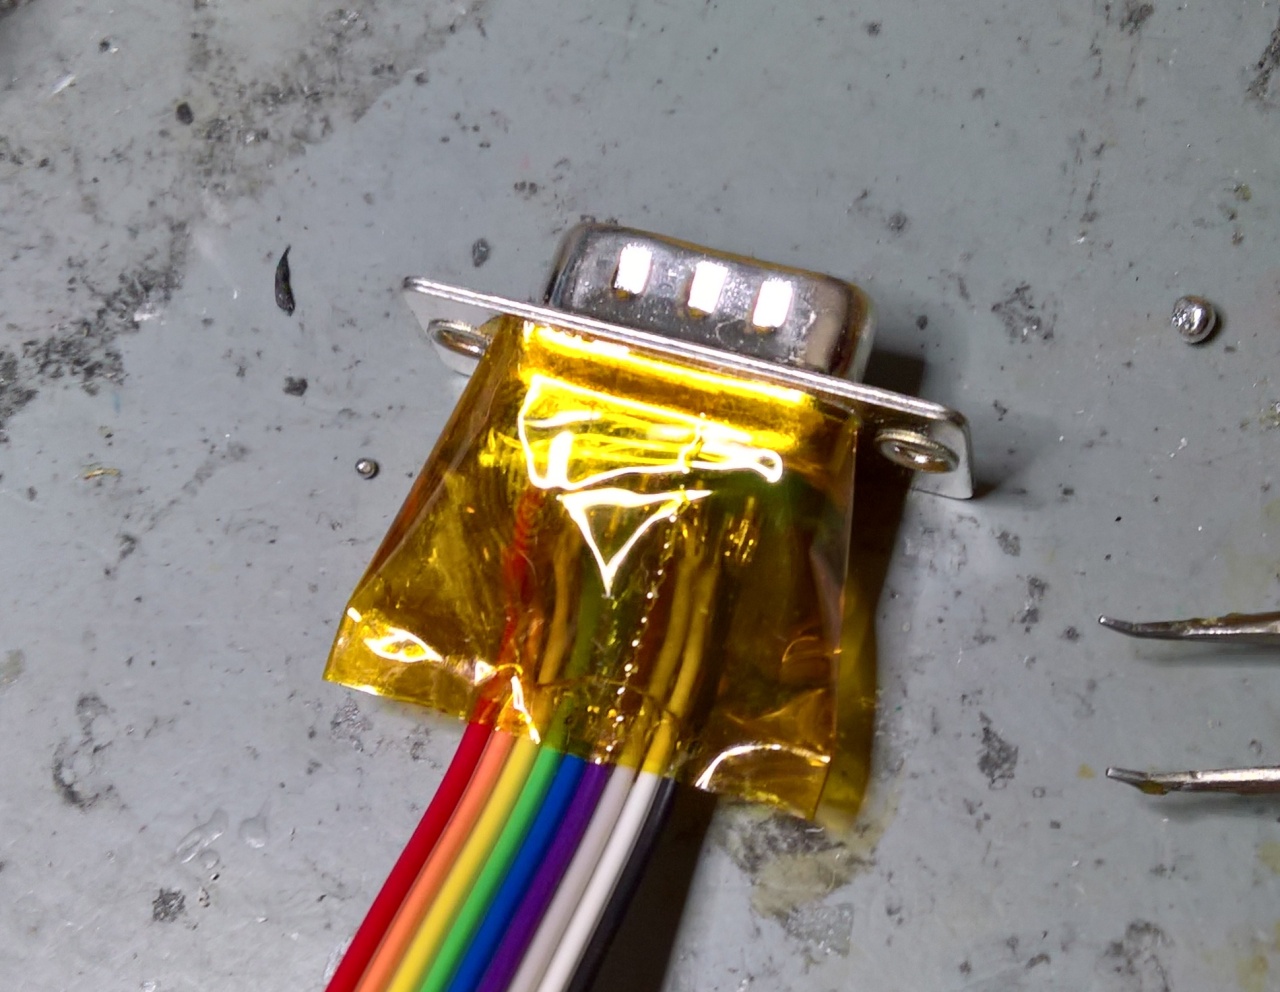
Back fill D types with Hot Glue held in place with good old Kapton tape 😀
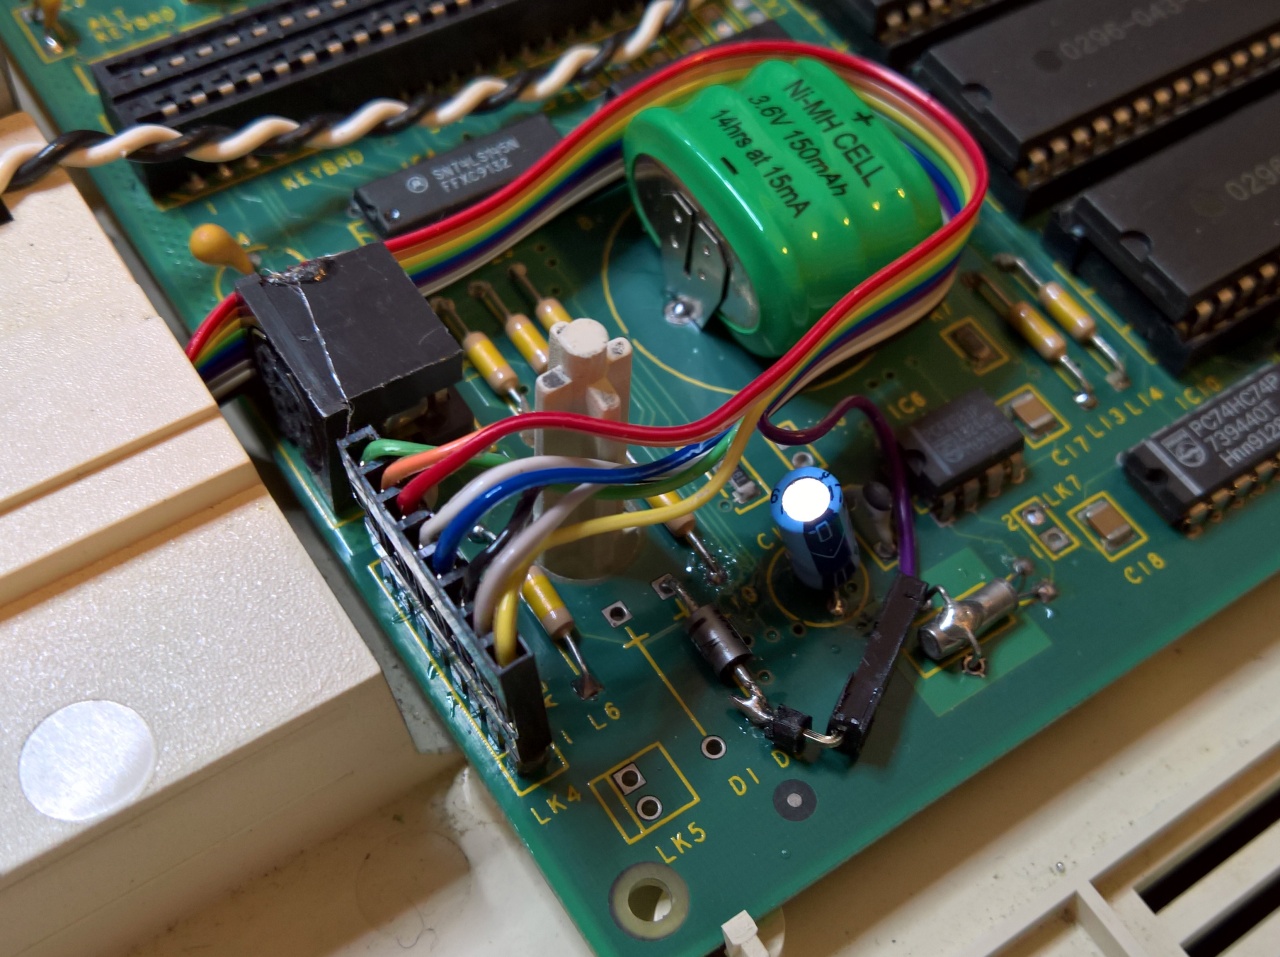
I’ve used a spot of hot glue to hold the ribbon on the side of the original mouse port connector. 5v isn’t on the 8way header.. I’ve grabbed a feed from the bottom of D2
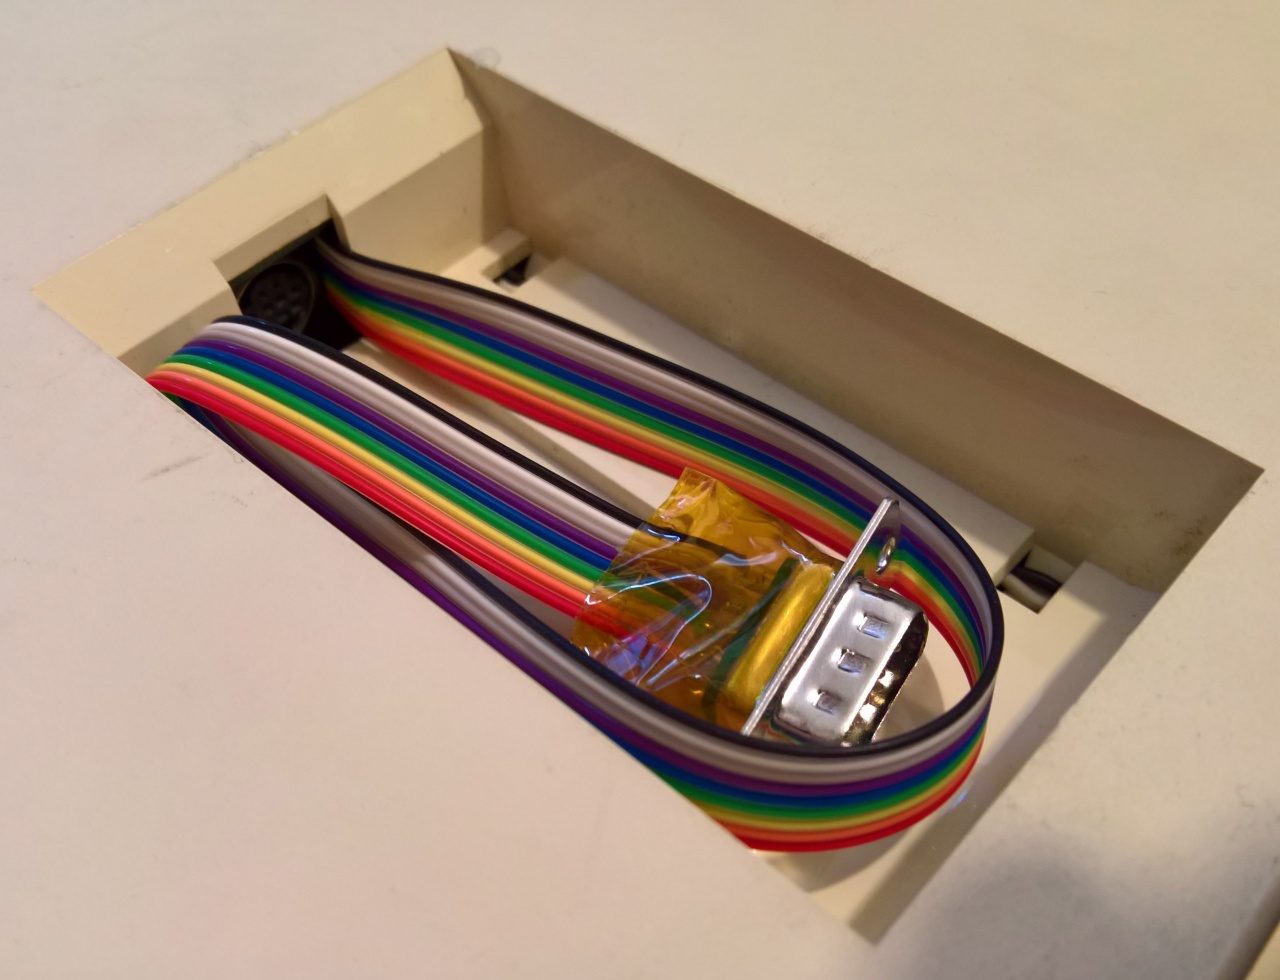
Tidy, I’ve done all this without testing it of course!
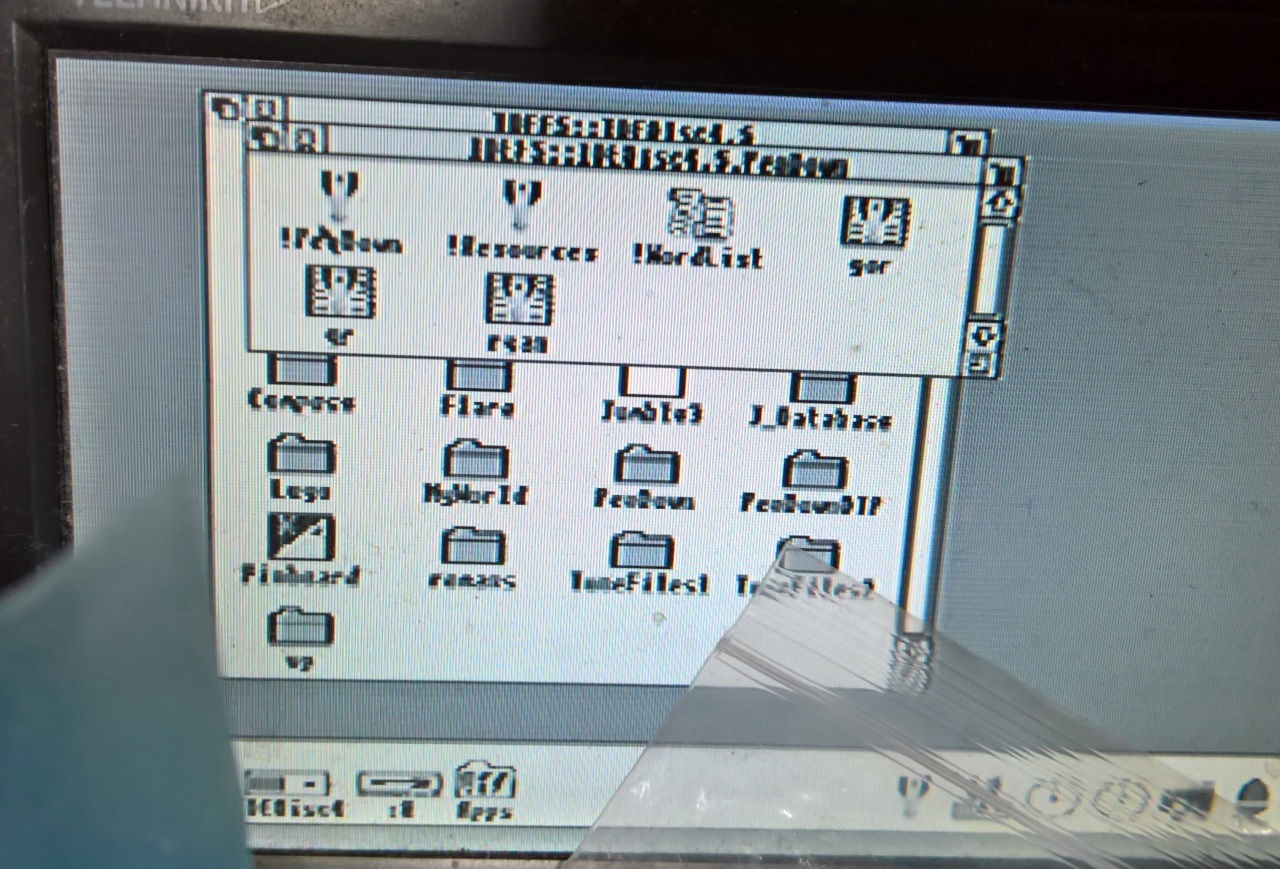
Of course it bloody works!! I wish I spent a bit more time reading up on this before I went for the Arduino.. I’m sure it would have worked if I spent more time with it, may have been code, but I kinda think it’s all down to the ‘compatibility’ of the mouse in question. Seems to me that converting it to use a Amiga mouse is a simple low cost solution. Also PS/2 to Amiga Converters are quite a lot cheaper than PS/2 to Acorn. I’ll try my PS/2 Amiga mouse converter and report back here, I’m sure it’ll work.. but l’ll save the guess work for another day.
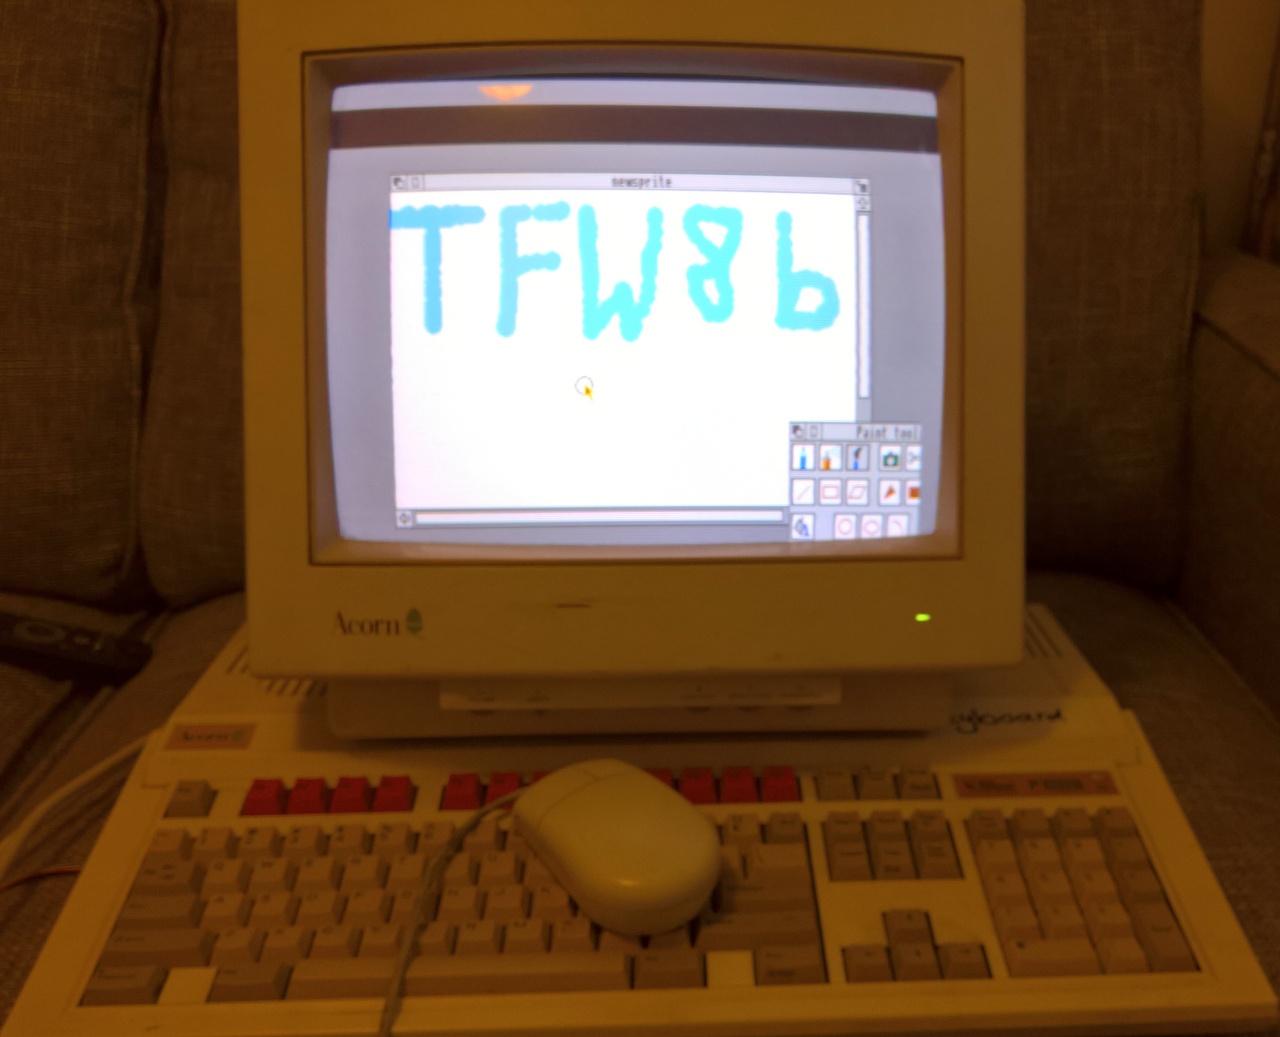
Next job is to fix the blinking monitor.. Well not blinking, rolling. The clever sod that posted this too me left the connector in the back. Need to pop the back off and re-attach the 9way and 3 pots!
Oh and BTW. Archimedes use a three button mouse, 2 buttons will work, but you do need a 3 button to use RISC OS fully.
Amiga 9Way D – Acorn Archimedes A3000 8 Way Internal header
1 – Black – 3
2 – Grey – 2
3 – Blue – 4
4 – Yellow – 1
5 – Red – 6
6 -White – 5
7 – Purple – 5v (via D2)
8 – Green – 8
9 – Orange – 7